bookmark_borderWhich is Better: A Bamboo or Electric Toothbrush?

Hey earth muffins! When I started this sustainable journey, I had an electric toothbrush already in my bathroom. I wasn’t sure if continuing to use it was the best option, as bamboo toothbrushes are a good alternative to plastic ones. I decided to use my electric toothbrush for a couple more years; but, a few months ago I decided to try out bamboo toothbrushes instead (affiliate link). After writing a full review on this bamboo toothbrush, I realized that it is quite confusing to think about which one is better for the environment… So, I thought it would be a great thing to write about! Here are my thoughts on which one is more eco-friendly – a bamboo or electric toothbrush?
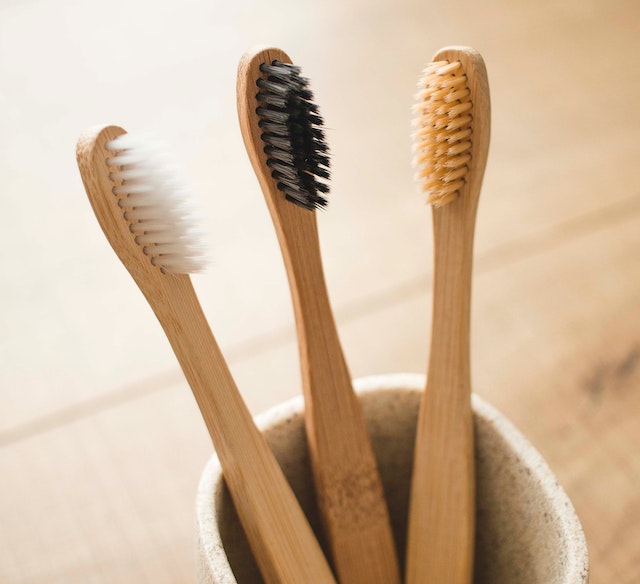
A picture of three bamboo toothbrushes sitting in a cup in the bathroom

Both will give you similar results in terms of brushing.

I always thought that electric toothbrushes were better for your teeth… But that isn’t necessarily the truth! With a bamboo manual toothbrush, you can still brush your teeth extremely well. Regardless of what toothbrush you use, you need to also floss and take good care of your teeth overall. If you do this, you won’t have many issues them. Less issues = less dental waste at the dentist office! 🦷 Those who don’t brush properly or take care of their teeth will often find themselves having to sit through more procedures at the dentist.

You MUST dispose of your bamboo toothbrush properly!

Bamboo toothbrushes are supposed to be a better alternative to plastic ones because they won’t last thousands of years in the landfill. But, bamboo toothbrushes must be disposed of correctly or they can still cause issues. First, many of them still have plastic bristles. Make sure to cut or rip them out before getting rid of the wood handle! Once the bristles are gone, compost the bamboo. If you don’t compost it, the wood will end up in the landfill with other food waste and natural materials. Because there is no oxygen in a landfill, it will create methane while it breaks down… Definitely not something we want! Sure, it won’t last as many years as plastic, but it will emit greenhouse gases if not disposed of properly.
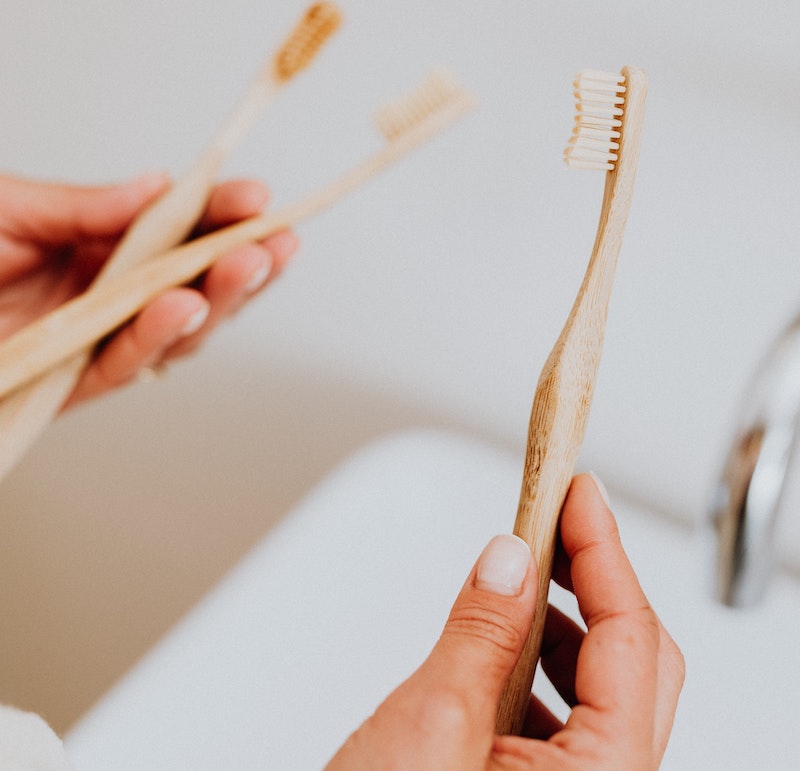
A picture of a hand holding a bamboo toothbrush

An electric toothbrush will last a long time.

In terms of how long a bamboo or electric toothbrush lasts, an electric one can last much longer. This is because the plastic handle can be reused again and again. However, every 3-6 months you should replace the head of the brush. These are obviously made of plastic; but, there are some eco-friendly alternatives! Some brands allow you to send back the heads to be recycled. You can get a pack of 8 recyclable heads for only $10 on Amazon (affiliate link). While sending products back to the company to recycle is a nice option, it does create more shipping emissions.

Bamboo toothbrushes don’t require any electricity use!

Electric toothbrushes either require batteries or have a rechargeable battery inside. The first option isn’t that eco-friendly because you have to change the batteries. Batteries can’t just be thrown in the trash – you must dispose of them properly! The better option would be the rechargable toothbrush. But, this obviously requires electricity use! While it doesn’t take too long to charge the electric toothbrush each time, it is still pulling power off the grid. Sure, there are other ways for you to get electricity (ie. solar), but most people don’t have that option.

Electric is often more costly!

In the bamboo or electric toothbrush debate, price is also something that must be considered. In terms of overall cost, the bamboo toothbrush is much cheaper. For the brushes I bought, you get 5 for only $9 (affiliate link). While some electric toothbrush heads are a similar price point, the actual electric toothbrush is a costly investment up front. There is also a large range of prices too – I’ve seen toothbrushes anywhere from $30 to $200!
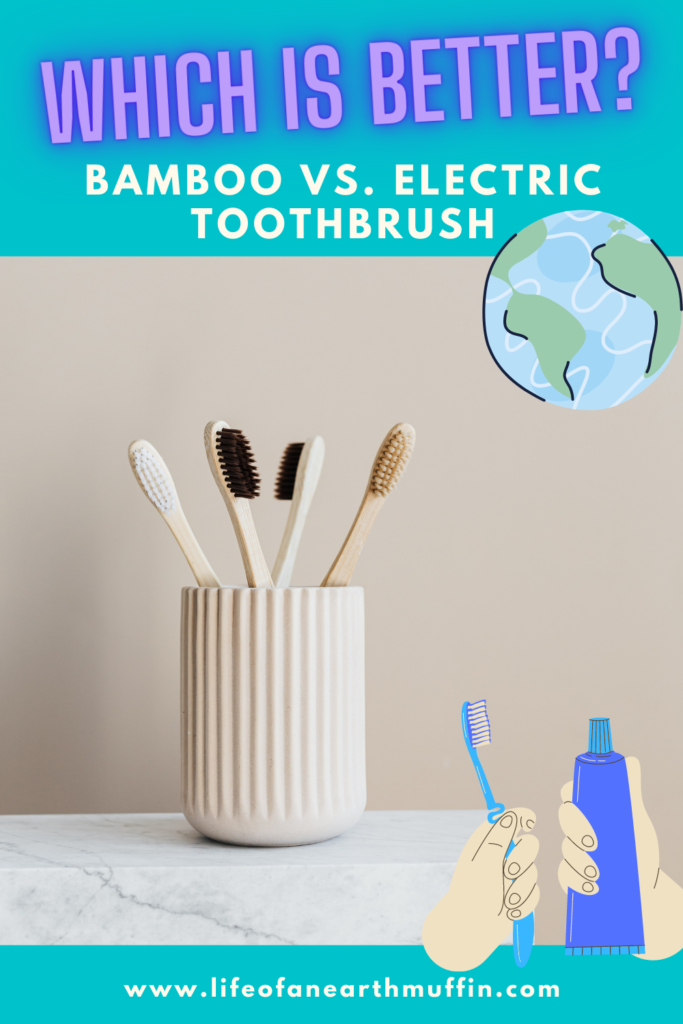
Pin now to read later!

Final Thoughts: Bamboo or Electric Toothbrush?

Looking at all the pros and cons of the bamboo or electric toothbrush decision, I think it really comes down to each individual person! I personally love my bamboo toothbrush for a bunch of reasons; but, I think you could definitely still be eco-friendly with an electric toothbrush. If you opt for bamboo, make sure you dispose of it properly! For those fans of electric, choose recyclable heads and take the effort to send them back to the company! For everyone, make sure you take good care of your teeth so that waste in the dentist office can be minimized. 😊 What toothbrush do you use currently?

Love,
Jenna ♥

➡️ Subscribe to never miss a post! ⬅️

Loading

bookmark_borderAn Easy Sustainable Bathroom Swap: A Bamboo Toothbrush Review!

Hey earth muffins! As I mentioned in my most recent post, I finally jumped on the bamboo toothbrush trend. When I started my eco journey back in 2018, I continued to use my electric toothbrush because I still had a bunch of toothbrush heads. Once I used them up, I was going to either 1) get heads that could be recycled or 2) switch to bamboo toothbrushes… And I decided to try out bamboo! 🦷 I thought this would be the perfect time to share a bamboo toothbrush review with you all. Let’s get right into it!

A picture of a hand holding a bamboo toothbrush

What I Like About My Bamboo Toothbrush

For starters, a bamboo toothbrush is an awesome sustainable swap! And, it is an easy one too. A lot of brands are coming out with bamboo toothbrushes these days… You can find them at almost every store. I bought a pack of five brushes from a Swedish company called The Humble Co (affiliate link). For only $8.99, I think that is a great price for a sustainable product! When I was thinking about the switch, I randomly thought that bamboo toothbrushes might have a wooden taste to them. They don’t! The bamboo wood doesn’t feel super “woody” either, so you won’t even miss those ocean polluting plastic toothbrushes. 😊

Another bonus of bamboo toothbrushes is how “clean” they look in your bathroom. I’m a huge advocate for bars over bottles because it makes the bathroom look tidy with a minimalist aesthetic. Plastic toothbrushes often come in bright shades of color; a nice wood is much better in my opinion!

I had been using an electric toothbrush for years now, and I definitely forgot how much more control you have with a manual toothbrush. It is often advertised that electric toothbrushes are better for brushing (which may be the case), but I personally find it easier to get exactly where I want brushed if the head isn’t spinning all over the place. Plus, the tiny circular heads of my electric toothbrush didn’t cover as much ground as a bamboo toothbrush does. Definitely a pro in this bamboo toothbrush review!

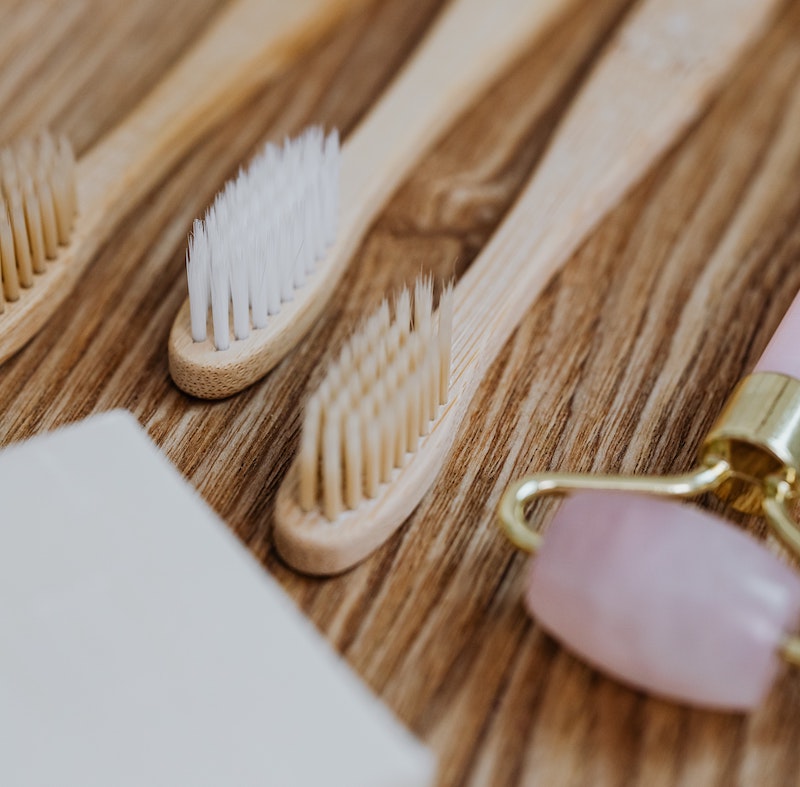
A picture of two bamboo toothbrushes lying on a wooden surface

More Things I Love!

Another bonus of a bamboo toothbrush is that it is easy to travel with. My boyfriend and I recently went on a staycation to a cabin by the lake… Our first trip since the pandemic started! Compared to lugging around my electric toothbrush, a bamboo toothbrush is much easier to travel with. It’s a good thing I kept an old travel toothbrush case from many years ago too – a bamboo toothbrush fits perfectly in any case made for any other toothbrush.

Lastly, it is easy to compost your bamboo toothbrush when finished. For The Humble Co brushes (affiliate link), all you need to do is rip out the bristles and then compost the bamboo! Easy peasy. I’ve seen others where you can compost the whole thing or send them back to the company to be recycled. A few weeks ago I actually saw a toothbrush with replacable heads – how neat! Compared to plastic toothbrushes, there is much less waste; a win-win!

What I Dislike About My Bamboo Toothbrush

Sure, a bamboo toothbrush might be a bit more expensive compared to a “normal” one. However, I personally don’t think the difference is big enough to be a con in this bamboo toothbrush review. After using my toothbrush for awhile, the only thing I can say is that the bristles are on the harder side. This doesn’t really bother me that much, but I know some people like their toothbrush bristles to be softer for less abrasive brushing. As a reminder, I only have experience with this brand of bamboo toothbrushes; I’m sure you can find others with the level of hardness/softness you desire!

Pin now to read later!

Final Thoughts

Overall, I will conclude this bamboo toothbrush review by recommending you all try one out! 🪥 They are an easy (and cheap) eco-friendly swap you can make in your bathroom. I have found that they brush extremely well, can be composted, and increase the “zero waste aesthetic” in your house. While they might be a little more expensive, I believe they are totally worth it. Have you tried out a bamboo toothbrush yet?

Love,
Jenna ♥
➡️ Subscribe to never miss a post! ⬅️

Loading

bookmark_borderHow to Recycle Davids Natural Toothpaste METAL Tube

Hey earth muffins! Back in January, I wrote a review post about Davids Natural Toothpaste. This product comes in a metal tube (affiliate link), which is incredible for us eco-friendly folks! Plus, the toothpaste itself is awesome; my teeth feel clean and look so white from the baking soda. 😊 My first tube of this toothpaste ran out a few weeks ago, so I thought I would share how to recycle it. You obviously can’t just throw the tube in the recycle bin with leftover paste inside… So this post will take you through all the steps to recycle your Davids natural toothpaste correctly. Let’s jump right into it!

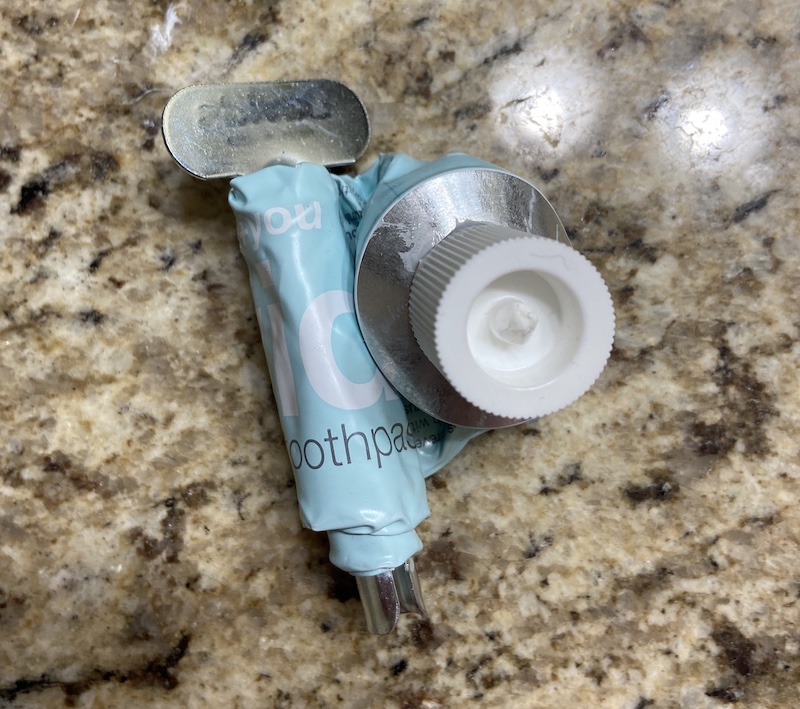
A picture of a finished tube of Davids natural toothpaste

Can it all be recycled?

The tube is metal which can be recycled at most recycling centers. However, make sure you know your local recycling center rules! “Wishcycling” something that can’t actually be processed by the site can cause problems for the whole batch of recycling… Definitely a no-no when trying to recycle properly! So, make sure you know what your local center accepts.

According to the Davids natural toothpaste website, the toothpaste cap is made from Symbol #2 plastic. Again, this may or may not be accepted by your local recycling center. It is recyclable where I live, which allowed me to recycle both the tube and cap! 🎉 Like I mentioned in the review post, the toothpaste also comes with a metal key that rolls up the tube and ensures you get everything out of it. This is made of the same metal as the tube, which means you will probably be able to recycle it as well. However, I decided to keep mine; it seems like it will be useful for other products too!

How to Recycle Your Davids Natural Toothpaste Tube

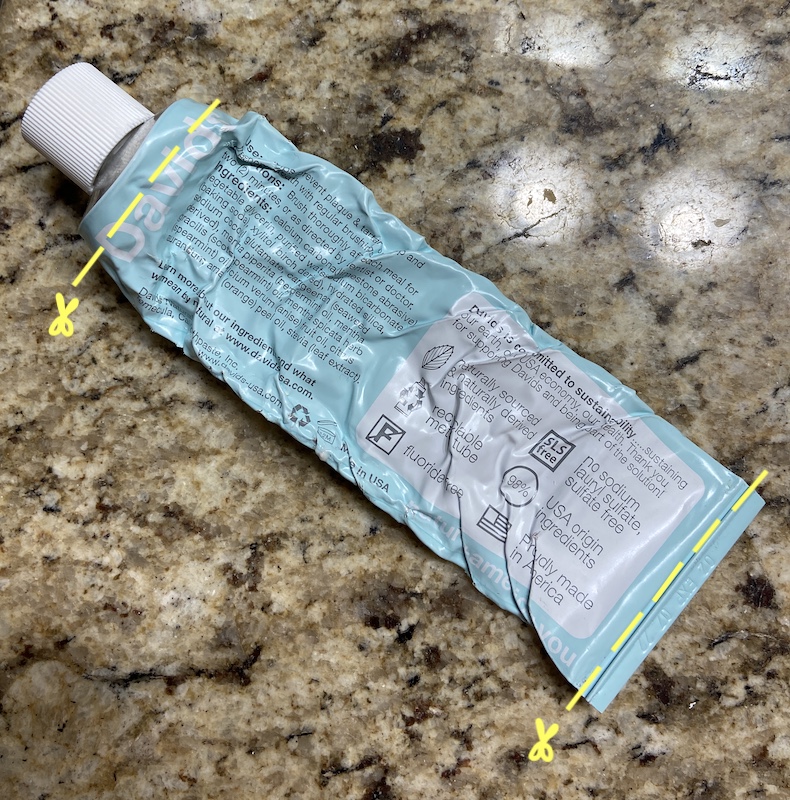
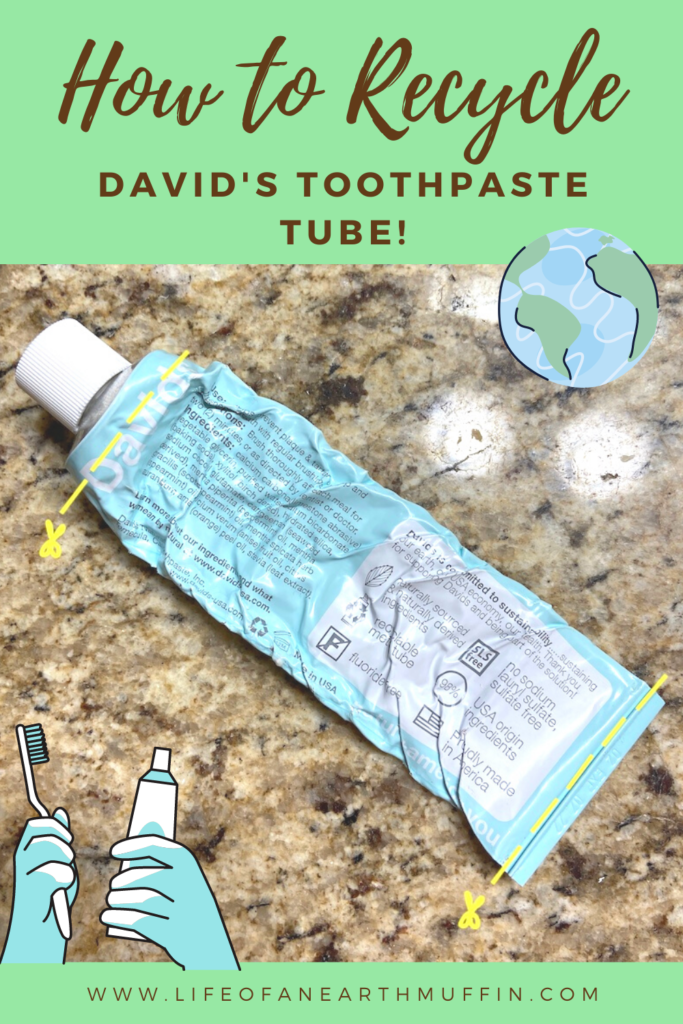
Step 1: Unroll the tube of toothpaste and take off the key. Take some scissors and cut off both ends of the tube. At the top of the tube near the cap, try to cut as close to the top as possible.

A picture of Davids toothpaste, where to cut when recycling

Step 2: Cut a long slit up the length of the toothpaste tube. Be careful! The tube is metal, so you don’t want to cut yourself by accident. Once you have made the cut, carefully open up the metal to reveal the extra toothpaste inside.

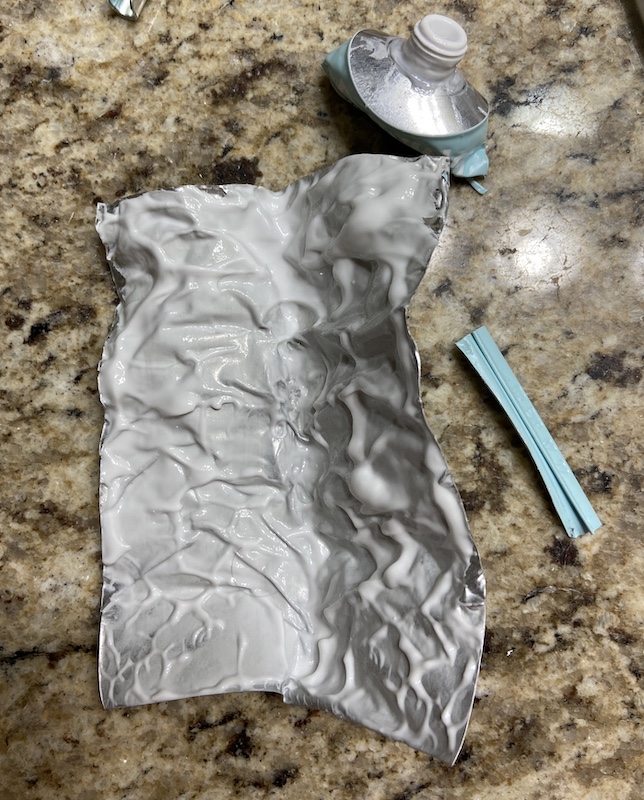
A picture of Davids toothpaste tube cut open with toothpaste still inside

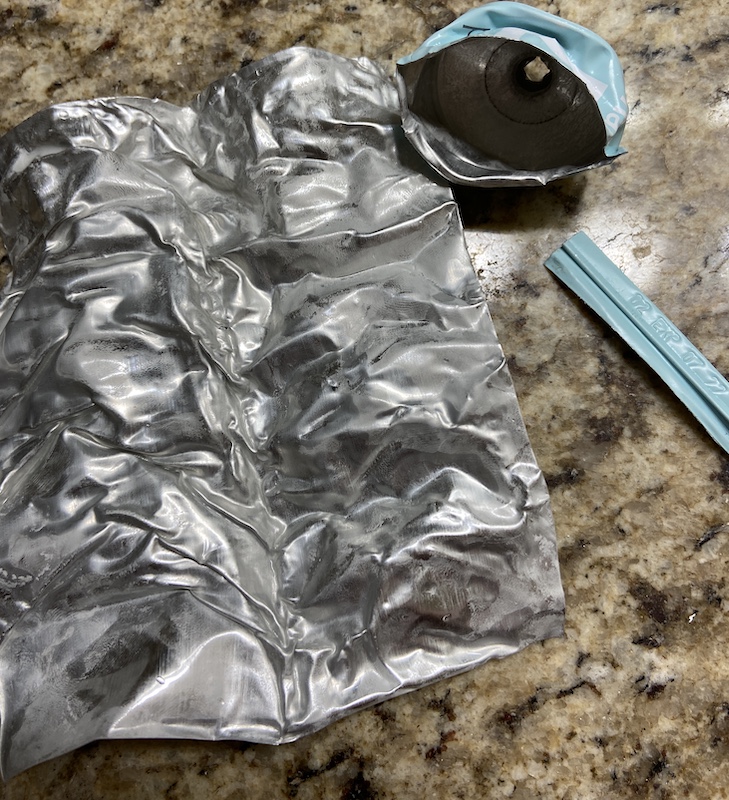
Step 3: Once it has been cut open, you should have four pieces: the long metal piece, the bottom sliver, the top part, and the plastic cap. Wash all of these pieces out in the sink. My kitchen sink has a spray attachment, which was super helpful for getting in those hard to reach areas! Make sure you get all of the toothpaste off, as dirty metal can also contaminate a recycling batch.

A picture of Davids toothpaste cut open and cleaned

Step 4: Now that the tube is clean, I placed the small bottom sliver into the large metal piece and folded it in half again. This will make sure the bottom piece gets recognized as metal at the recycling plant. Lastly, place everything into the recycling bin and bust out your next tube of Davids natural toothpaste (affiliate link). Congrats, you successfully recycled!

Overall Thoughts

I was so excited to find this toothpaste in metal. Sure, it takes a few minutes to get it ready for the recycling bin; but, it is amazing that a product like this exists! 🌎 ❤️ I will definitely continue to buy it because it allows me to reduce my landfill waste and opt for something much more eco-friendly. Plus, the toothpaste itself works really well too! Overall, I hope you all make the swap and use this post as a guide to recycle the tube correctly. Thanks for reading!

Pin now to read later!

Love,
Jenna ♥
➡️ Subscribe to never miss a post! ⬅️

Loading

bookmark_borderReview: Native Deodorant in Cucumber Mint, with a PLASTIC FREE Tube!

Hey earth muffins! It’s your girl coming at you with another review today! 😍 I personally have had a love-hate relationship with natural deodorants since I started my eco journey. If you have been following me for some time, you have seen me review deodorants from Pretty Frank before. In the world of natural deodorants, there are so many different kinds to choose from. Baking soda, zinc, why are there so many options? I’ve never found the “perfect” one yet, so when I saw that Native came out with a plastic free natural deodorant, I scooped it up right away. Let’s jump into my Native deodorant review! 🎉

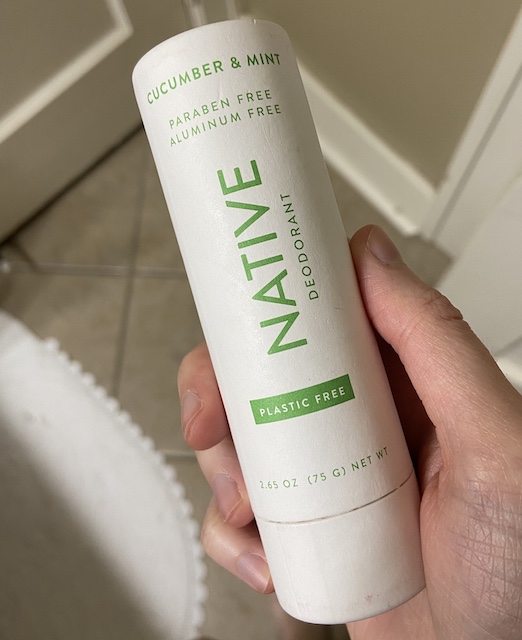
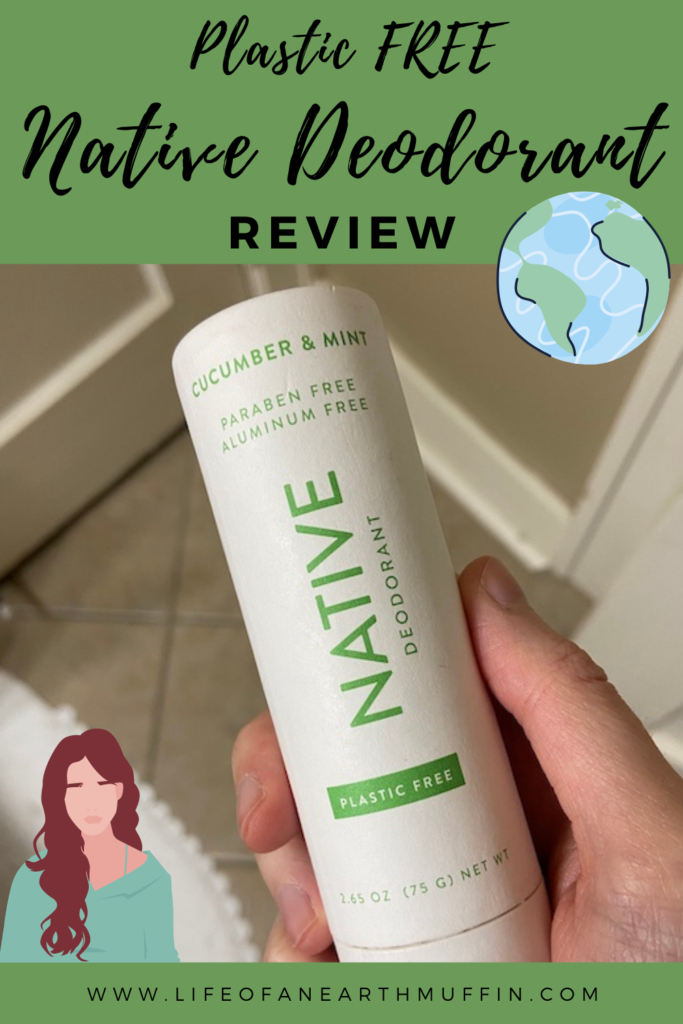
A picture of plastic free Native deodorant in Cucumber melon

What I’m Loving About Native Deodorant

Obviously the first thing I need to mention is that this deodorant is plastic free – amazing! Some natural deodorants (like Tom’s of Maine) still come in plastic containers, so it is difficult to buy them because I feel bad about the plastic. I think it is extremely innovative (and awesome!) that Native was able to create a deodorant container that very closely resembles a “typical” one… But avoid all plastic in the process! I love to support sustainable companies, so I am super happy about the plastic free line that Native carries. However, not all Native deodorants are plastic-free so make sure you carefully look at what you are buying!

One thing that usually turns people off to natural deodorant is that it isn’t an antiperspirant… Which means you will still sweat. In addition, if you are making the switch from aluminum deodorant to natural, you might experience an armpit detox… Never fear, I have a list of tips to make this process nice and easy! I’ve found that, out of all the natural kinds I have tried, this brand keeps me from sweating the most. While I will obviously experience some dampness if I am hot or working out, I don’t notice this happening much. Plus, the deodorant works amazing! I purchased the Cucumber Melon scent after hearing one of my favorite sustainable influencers talk about how it is her favorite; and it smells so good! The Native plastic free line has 5 different scents, but I might just have to stick to this one when I’m repurchasing. 😊

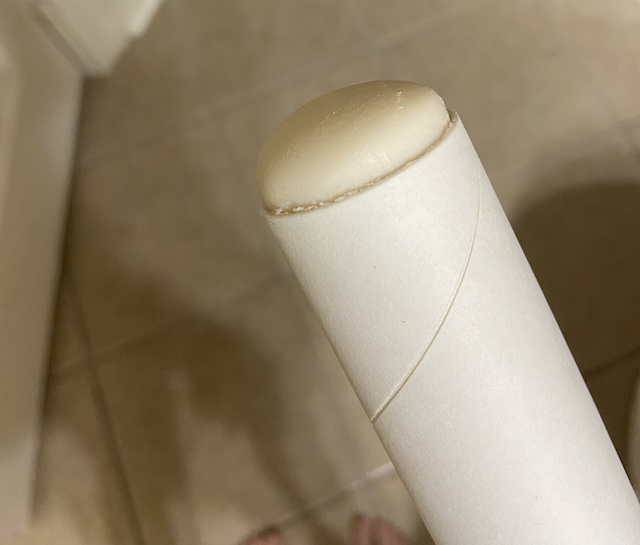
A picture of the top of plastic free Native deodorant

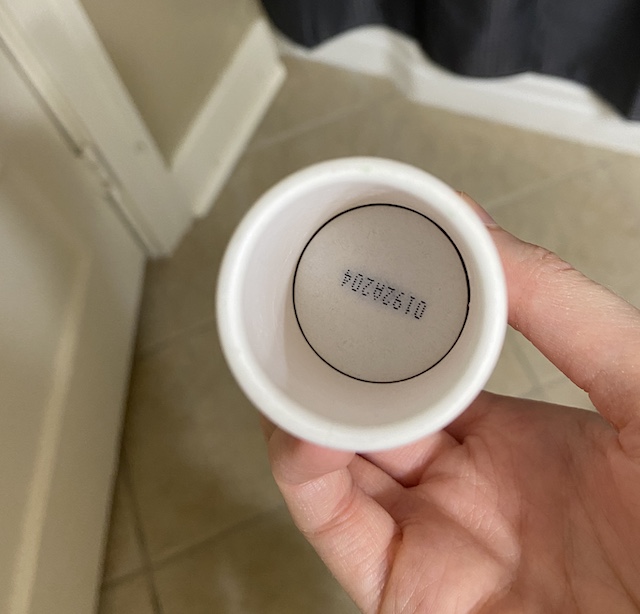
With this natural deodorant coming in its own tube, I LOVE that I don’t have to stick my fingers in a jar to apply it every morning. Instead of a plastic roller at the bottom to push up the product as you use it, this innovative design has a cardboard piece that can be pushed up. It reminds me of those push up pops I used to eat as a kid! 😂 Not having to get my fingers dirty to apply my deodorant in the morning is super helpful in making my morning routine quicker and easier. Perfect for busy work days!

The last positive I will mention about this product is that the plastic free Native deodorants are basically the SAME price as the plastic Native ones. 🎉 In a world where we often see upcharges for sustainable products, I love that I can opt for the eco-friendly verison without spending more money. At Target and on their online store, the difference is only $1. I hope this gets other people to try the plastic free version too!

What Could Be Improved On

This Native deodorant review wouldn’t be complete without a few negatives… I think the first thing to mention is that the paper “push up pop” can sometimes be finicky. I’ve found that you sometimes need to hold it in place as you apply your deodorant. This isn’t a huge issue for me, but it is different than applying your “typical” deodorant.

A picture of the push up part of plastic free Native deodorant

Again, I always like to briefly mention the price. It is $12.99 at Target or $11 if you subscribe on the Native website for a new stick every 3 months… Seems pretty pricey to some. But, I think it is so important to stop using aluminum deodorants – it is so bad for you! If you stop using the cheap, aluminum filled brands, then why not spend that extra dollar to get a plastic free version? I’ve personally seen more expensive natural ones, so I think the price is worth it. 😊

Last but not least, I don’t like that they don’t sell the plastic free version on Amazon. While I try to limit my Amazon purchasing (because shop small and local as much as you can y’all!), I know that many people rely on it for a lot of their shopping. So, by not having the plastic free version on there, you are limiting access to people who might want to give it a try. As someone who loves this product, I highly suggest trying it out! Thanks for reading my Native deodorant review! 😍 What deodorant are you currently using?

Plastic free Native deodorant review pinterest pin
Pin now to read later!

Love,
Jenna ♥
➡️ Subscribe to never miss a post! ⬅️

Loading

bookmark_borderHow to Shave with a Safety Razor

Hey earth muffins! When I started my journey towards low waste in 2018, one of the first sustainable swaps I made was to buy a safety razor. These are an awesome purchase, as you can avoid those cheap disposable razors. In 2018, I wrote a whole post on “shaving with a safety razor 101”. It has been quite some time since then, so I thought it would be fun to write an updated version. I have even more great tips now that I have been using one for a few years. 😊 Let’s get right into how you can shave with a safety razor!

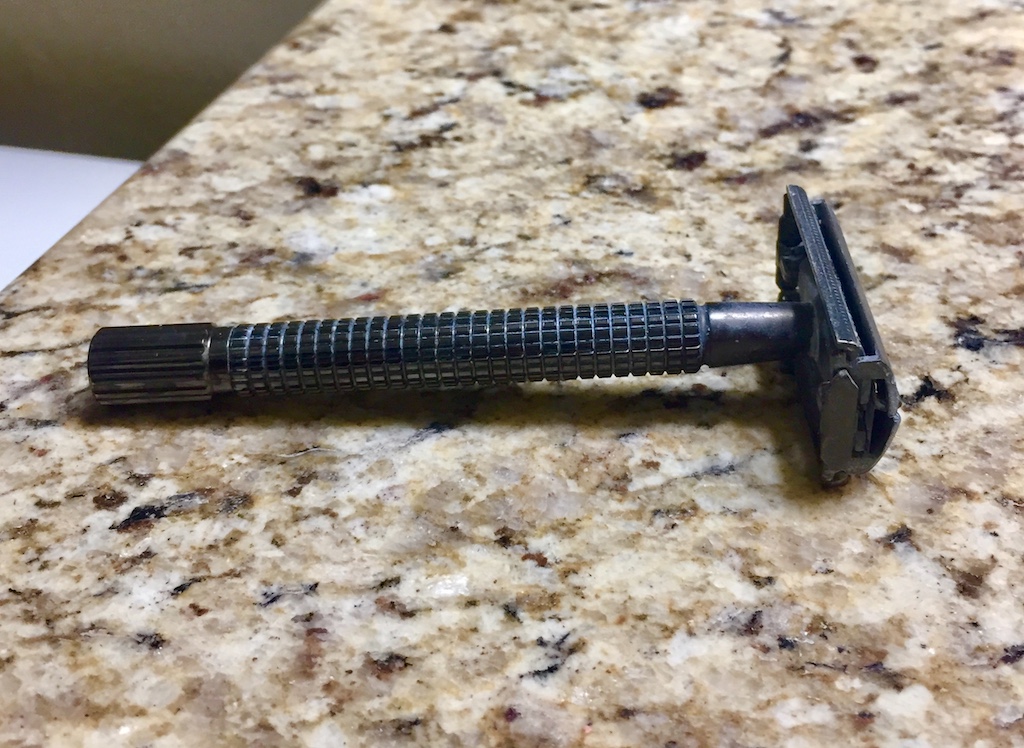
A picture of a safety razor on a bathroom counter

What To Do Before Shaving

The first step is to obviously acquire a safety razor if you haven’t already. The razor I bought in 2018 is a Weishi razor; it can be purchased on Amazon for only $17 (affiliate link). The reason I picked this particular razor was that is has a lot of reviews. It also came with 5 blades, which have lasted me quite a long time! If you want to stock up on more razor blades, I suggest the Astra pack of 100 (affiliate link).

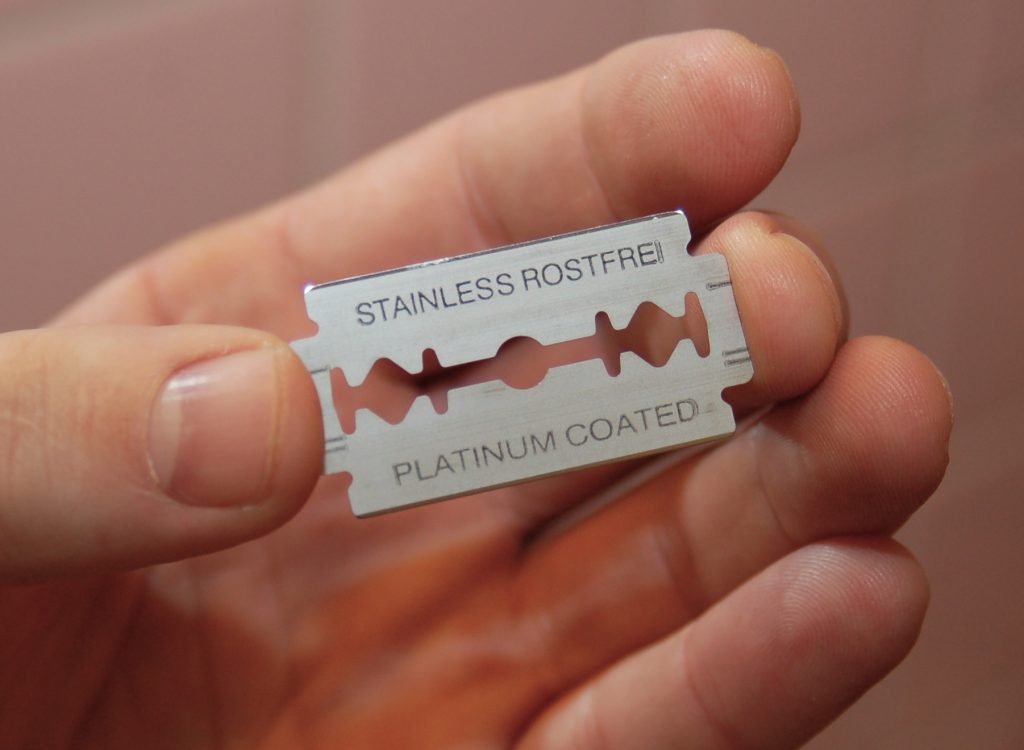
Once you have the safety razor, it is time to prep it before shaving. When you open the package, I would give the razor a quick rinse just to ensure there is no dust or dirt stuck on. The blades will all come individually wrapped, so you will need to unwrap one and secure it on your razor. Be careful – the long sides are extremely sharp! I suggest grabbing the blade on its short ends to ensure you don’t cut yourself. For my razor, all you need to do is plop the blade on the head and twist the handle to close the sides. This might differ from razor to razor, so take time to read the instructions. Once the blade is secure, it is time to start shaving! 😍

A picture of a hand holding the blade of a safety razor, using the short edges to prevent accidental cutting
An example of how to hold the blade for safety!

How to Shave With a Safety Razor

If you don’t already, I suggest NOT shaving in the shower. When you shave with the water running you are 1) wasting water and 2) making it harder to shave as the soap runs off your body! I personally like to shave at a random time in the afternoon, but you could do it right before you take a shower if you like.

To prep for shaving, I suggest getting a bowl full of water to place in your tub. I use this to dip my razor as I shave, which gets rid of the hair on the blade. It is a great way to conserve water as well! (Once I am done shaving, I just dump the bowl down the drain.) The rest of the shaving experience is extremely easy:

1. Wet your leg (or whatever part you are shaving). Lather up with your favorite bar soap.

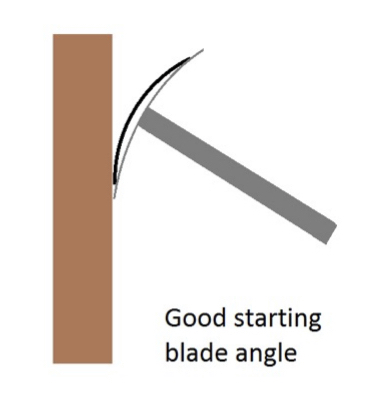
2. Tilt the safety razor at a 45 degree angle. This is the perfect alignment to get the most hairs off; but, you can use any angle from 30-45 degrees and it should work just fine!

A picture of a safety razor at 45 degrees

3. Shave! Make sure you do NOT apply too much pressure, as this will cut your skin. Especially with a new blade, you will barely need any pressure to get the hair off. 😊 As the blade gets older, you will need to apply more pressure until you change the blade again. Now, you might be asking what direction you should shave in… And the answer is any direction you want! The safety razor is awesome because you can shave up, down, and side to side without causing razor burn or bumps. This is awesome for shaving even the most delicate of places!

4. Dip your razor into the bowl of water to unclog hair when necessary. Once you are finished shaving, rinse and towel off. Ta-da! You are now silky smooth.

What To Do Post Shave

When you are finished shaving, there are a few steps I recommend to ensure your safety razor lasts a long time. First, take out the blade (holding by the short sides again!) and clean it off. You might notice that some hairs get stuck to the blade so this fixes that problem. Next, rinse off the razor when the blade is still out, as this also gets rid of any stragglers. Dry both the blade and razor with a towel; store it in a nice dry place so that it doesn’t rust. I personally don’t store mine in the shower as it can be too moist in there. I am hopeful that my safety razor will last me many years, so taking good care of it is important! 🌎 ❤️

There you have it – an essential guide to shaving with a safety razor! This has honestly been one of my absolute favorite swaps, so I would highly recommend buying one for yourself (affiliate link). While it might seem scary at first to shave with one, I am here to tell you that it is extremely easy. I have only cut myself once in over two years! I believe in you – you can totally handle it! Have you made the switch yet?

How to shave with a safety razor pinterest pin
Pin now to read later!

Love,
Jenna ♥
➡️ Subscribe to never miss a post! ⬅️

Loading

bookmark_borderDavids Natural Toothpaste Review – With A Pioneering, METAL Tube

Hey earth muffins! A few weeks ago my (last) plastic toothpaste tube was running low. Just like I have been doing with many of my items, once it ran out I was going to replace it with a more sustainable option. In terms of toothpaste, most of the sustainable options are to purchase toothpaste tablets. However, I was wandering around the dental aisle at Target and saw this product. Davids Natural Toothpaste comes in a metal tube that can be recycled (affiliate link)! 😍 I was intrigued, as I’ve never seen toothpaste in metal before…. After trying out this product for a month now, I thought I would share my thoughts. Let’s get right into it!

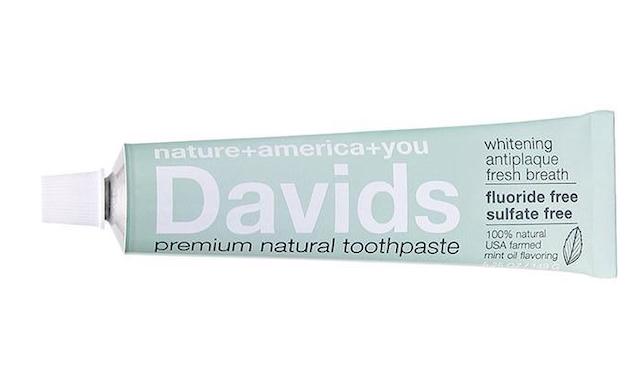
A picture of a tube of Davids natural toothpaste

What I Love About Davids Natural Toothpaste

First off, I obviously love that Davids toothpaste is a sustainable product (affiliate link). I am proud to say that my dental routine is now fully low waste! 🎉 I use an old electric toothbrush from many years ago (the heads are recyclable by the company), my floss is the amazing compostable floss from Dental Lace, and now my toothpaste can be recycled! The packaging of this toothpaste is a gorgeous cardboard box that can be recycled as well. I personally love how simple the design is on the cover, as it reminds me of a past decade.

I think the paste itself does a wonderful job of cleaning my teeth. It is a subtle grey color (as they don’t dye it to look a certain way). The paste is a tad thinner compared to brands like Crest; I personally love this consistency, as I find that whatever they put in other brands makes it clump up in my mouth as I brush. Davids toothpaste doesn’t do this, so it is easier to brush everything. The toothpaste foams up too and makes my teeth feel extra clean! 🦷

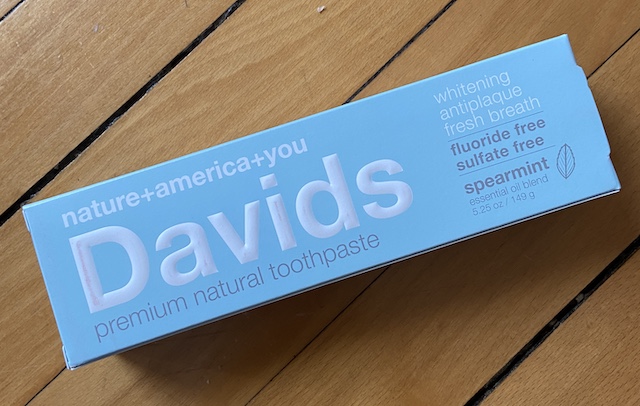
A picture of a box of Davids natural toothpaste

Another great things about this product is the subtle flavoring. I’ve mentioned this in other reviews, as I hate when something has an extremely overpowering scent/flavor. Davids toothpaste has a nice subtle flavor. I went with the Spearmint option, but you can also buy Peppermint, Charcoal, and Citrus.

Going alongside the flavoring, I love that this toothpaste isn’t full of sugar. I was surprised to find out that many toothpastes contain a lot of sugar, as it “helps the flavor taste better”. However, that seems kinda counterproductive… In my last Crest tube, I actually could taste too much sugar, which I really hated. So I love that this brand doesn’t have barely any!

What I’m Struggling With

While I think Davids natural toothpaste is an amazing option, there are other (possibly better) sustainable options (affiliate link). If you purchase toothpaste tabs, you won’t even have to recycle anything. The glass bottle they come in can just be reused around your house! Also, each tube of Davids toothpaste comes with a metal key to help you roll as you use the product. I definitely wish there was an option to opt out, as I would just reuse one key. Good thing the keys are recyclable as well!

Another downside to this product is that you have to clean the tube before you can recycle it. This makes sense, as I mentioned in a recent recycling post that you MUST clean everything before it can be recycled… However, I think this will deter people from actually recycling the tube. I’m sure many will toss it in uncleaned or just toss it in the trash because they are too lazy to take the time to clean it. I plan on writing a full post on how to clean the tube to provide helpful tips, so look forward to that in the future! 😊

Lastly, like in many of my sustainable reviews, I do have to mention the price. For $10, it might seem ridiculous to buy this… But, many toothpaste tabs are even more expensive! You have to think about the fact that you are paying more to support a company that is trying to do its part. What are your thoughts – will you try Davids natural toothpaste (affiliate link)?

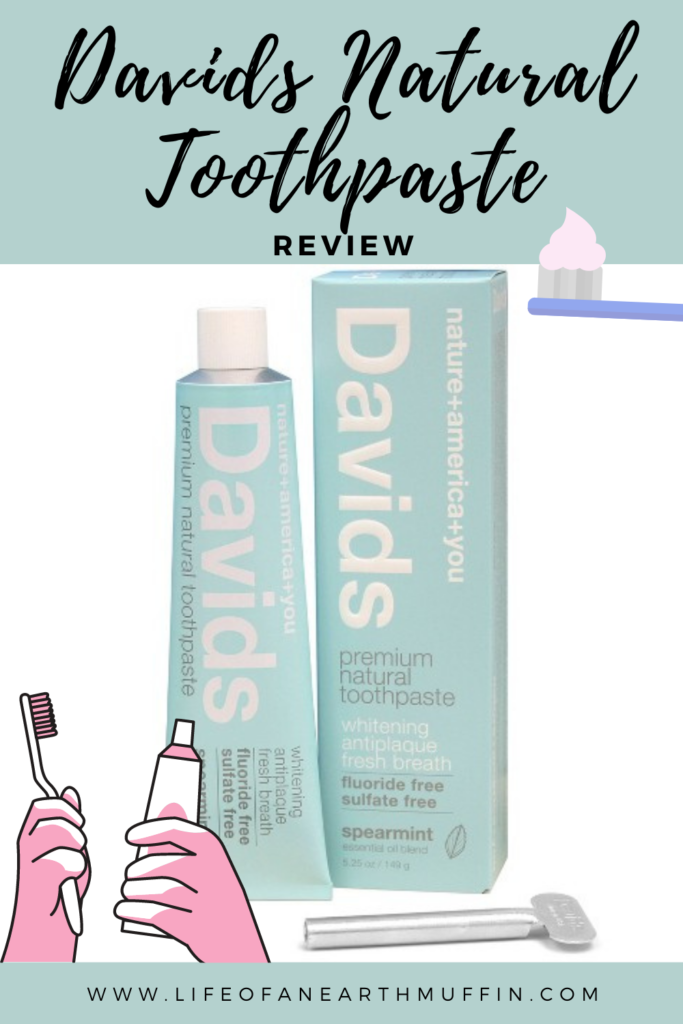
Davids natural toothpaste review pinterest pin
Pin now to read later!

Love,
Jenna ♥

➡️ Subscribe to never miss a post! ⬅️

Loading

bookmark_borderA Review of the Lena Menstrual Cup

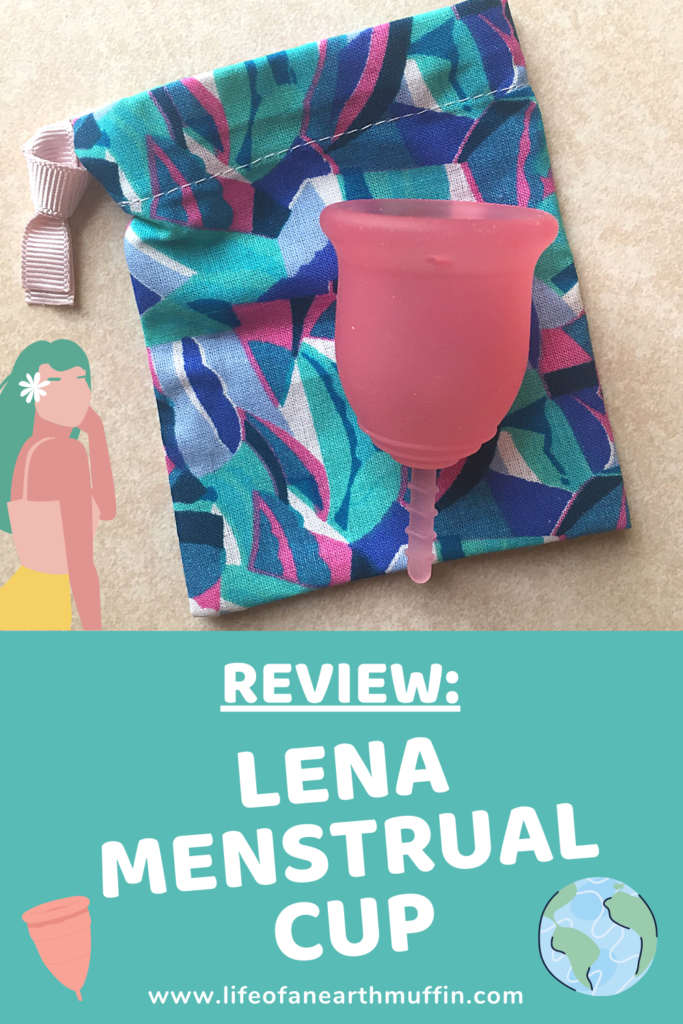
Hey earth muffins! If you have been following me on this blog or on Instagram, you will know that I have been trying out a menstrual cup for a few months. Now that I’ve had some time to use the Lena cup, I thought I would share a full review of this sustainable period product. I bought my Lena cup on Amazon for about $25 (affiliate link). It comes in two different sizes but because my flow isn’t super heavy, I went with the small version. I’ve been using this cup for 5 months now, so let’s jump right into the Lena menstrual cup review! 😊

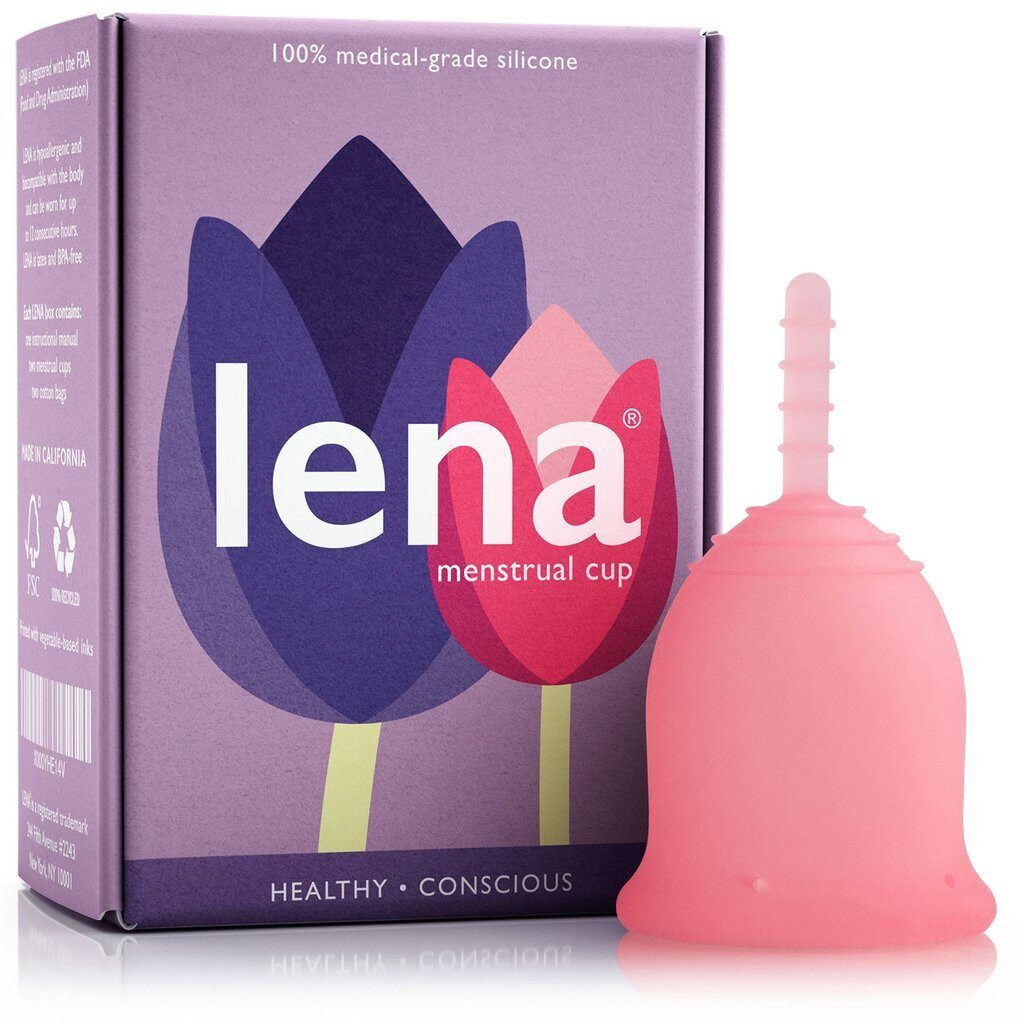
A picture of the Lena menstrual cup

What I Love About the Lena Cup

Obviously I love that it is sustainable! There are multiple ways to zero waste your period from reusable pads to period underwear. I have never been a tampon girl, so I’d probably be the most comfortable with reusable pads. But, I don’t have my own laundry in my apartment right now; so, I would definitely feel uncomfortable washing reusable pads in the shared space. Maybe when I move next I will give them a try! Menstrual cups are awesome because it saves you from throwing anything away during your period. 😍 One cup will last you many years and can stay in your body for up to 12 hours – so amazing to think about all the pads/tampons you won’t have to use!

Because I wasn’t a tampon girl, I was scared that a menstrual cup would be hard to use… But it isn’t! Sure, it might take a few cycles to get used to, but it is definitely something you can learn. I’ve also been surprised by how many resources are out there on YouTube, blogs, etc. Any question you have will be answered if you look hard enough. 😊 If you are new to using a menstrual cup, make sure to check out my post on tips for inserting and removing one!

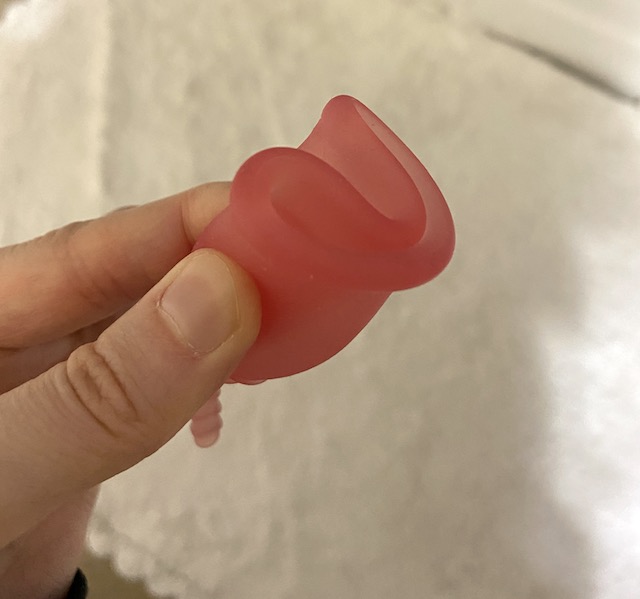
A menstrual cup in the C-fold

What I Like about my Lena Cup!

I love that the Lena cup is made of medical grade silicone because it saves my body from being exposed to the chemicals that are typically in other period products. It blows my mind that companies are able to put nasty things in items that 50% of the population uses… Especially when they come in such close contact to our most sensitive areas! I haven’t noticed any differences (other than there being no period smells), but I’m positive my body is better off now!

The Lena cup is super easy to clean – all you have to do is boil it! I will typically let it sit in boiling water for a good 5 minutes before each cycle. The cup I got is pink; I haven’t had any trouble with staining or things like that. Even after 5 months it still looks like when I first bought it!

What I’m Struggling With

If I’m being honest, I am currently looking for another menstrual cup to try out. While I love the benefits of using the Lena cup, I have found that the silicone is quite hard for me. This makes it a bit uncomfortable when it is in. It will sometimes push on my bladder and make it feel like I need to go to the bathroom. Plus, sometimes it will make it hard to go to the bathroom altogether. Even worse, it sometimes gives me more cramps which is definitely not ideal.

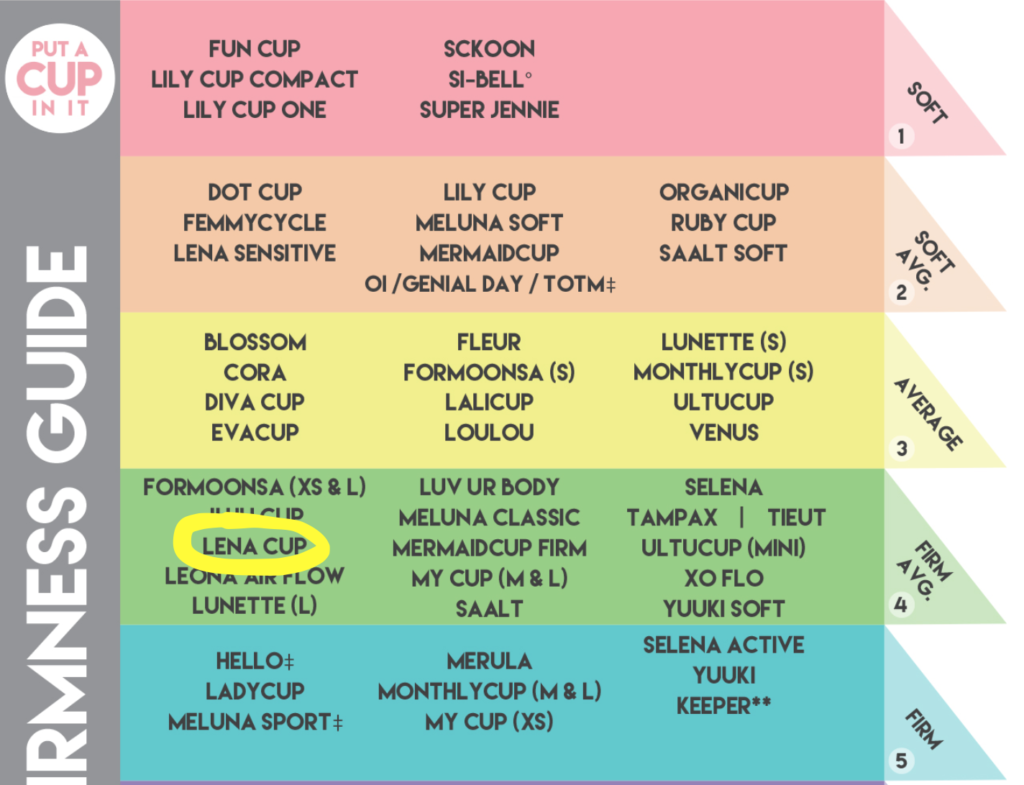
Going into the menstrual cup world, I knew that the first one I tried might not be the best one for my body. Put A Cup in It has a great chart that shows the different levels of “firmness” of menstrual cups. The Lena cup gets a 4 on the scale.

Menstrual cup firmness chart

Because I don’t enjoy the hardness of the silicone, I think I will be trying out the Organicup next (affiliate link). This cup has great reviews and is rated a 2 on the firmness scale. Plus, it will give me an opportunity to share another review with you all! I’m hoping that a less stiff silicone will make the menstrual cup feel better in my body, because there is just no reason why you shouldn’t start to zero waste your period! 😊

Lena Menstrual cup review pinterest pin
Pin now to read later!

Love,
Jenna ♥

➡️ Subscribe to never miss a post! ⬅️

Loading

bookmark_borderYay for Earth Review: Sensitive Skin Face Lotion

Hey earth muffins! In my recent wishlist post, I mentioned the Yay for Earth lotion that I have been eyeing for quite some time now. After posting that, I realized that I should just treat myself – so I placed an order! 😍 I have been using this face lotion twice a day for a few weeks nows; it is the perfect time to share my thoughts on the product. Without further ado, here is my Yay for Earth review!

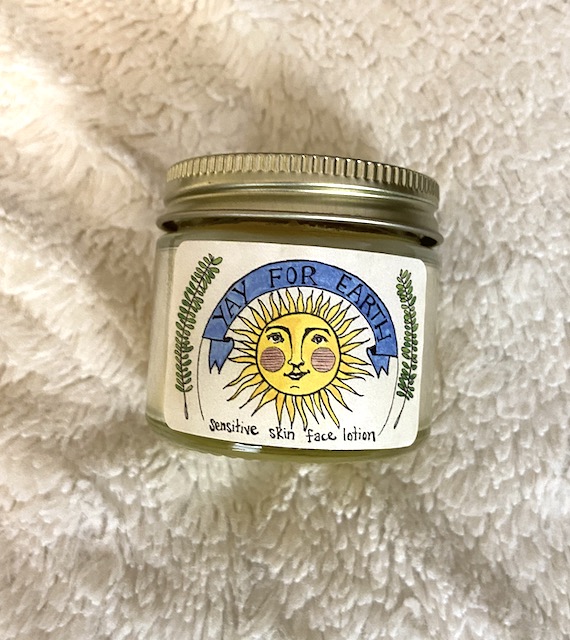
A picture of the 2 oz glass jar of Yay for Earth sensitive skin face lotion

What I Love About Yay for Earth

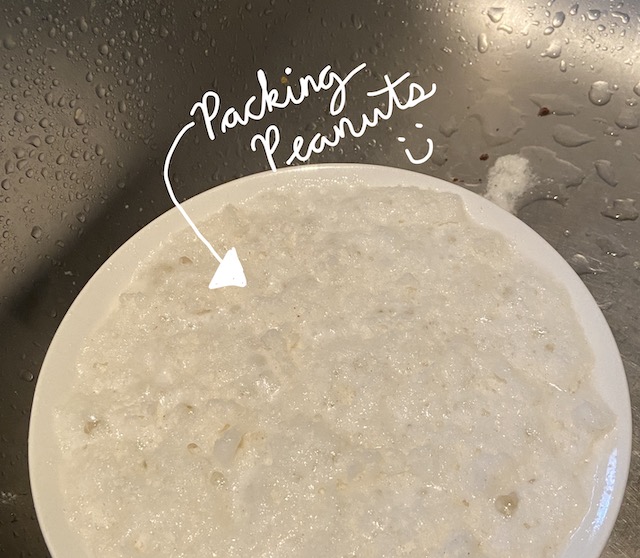
First, this company is uber sustainable! I’ve been a long-time follower of the owner (Stevie) on Instagram, and she definitely makes sure the company does everything it should. The lotions are packaged in glass (or a metal travel tin), which is awesome! Not only that, but the rest of the packaging is also eco-friendly. The box is cardboard, the tape they use is paper, and the packing peanuts are water soluble. I found so much joy spraying the peanuts in my sink until they dissolved. 😅

A picture of water soluble packing peanuts mostly dissolved in a kitchen sink

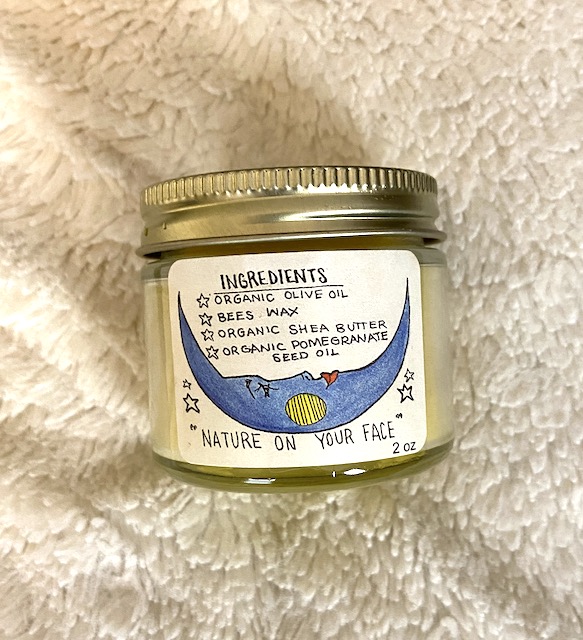
I also love that the lotion is made of only 4 natural ingredients – that’s right, four!! Instead of finding names of things you can’t pronounce on the label, this lotion has organic olive oil, organic shea butter, local beeswax, and organic pomegranate seed oil.

More Things to Love…

The fact that the lotion is made of simple ingredients is awesome, but it is also very effective too! I apply this lotion after washing my face each morning and then after I get out of the shower each night. My skin isn’t usually that dry, but the colder weather (and the hard water in my apartment) does make it get drier. This lotion is AMAZING! My skin feels so moisturized and healthy after I apply it; when I wake up in the morning it feels so soft too.

A picture of the back of the glass jar of Yay for Earth sensitive skin face lotion

I’ve also noticed that this lotion helps with my acne and sensitive skin. The Yay for Earth website shows some great before and after pictures of those with troubled skin; but, I didn’t want to expect too much even though I’ve been dealing with a lot more acne this past year. Like I mentioned in a recent post, the Mario Badescu face cleanser (affiliate link) literally saved my skin… But I still get some hormonal breakouts at certain points in my cycle. I have already seen a difference in my skin since using this lotion! My breakouts are less often, smaller, and the redness from old acne scars is slowly fading away. I’m super excited to see how this product continues to help my skin!

I also love that this lotion has a subtle smell. To me, it has a faint hint of honey, which probably comes from the local beeswax. I am not a fan of strongly scented products, as many “fragrances” are just chemically based. I love that this lotion barely has any smell, as it stays true to its sustainable background.

What I Dislike about Yay for Earth

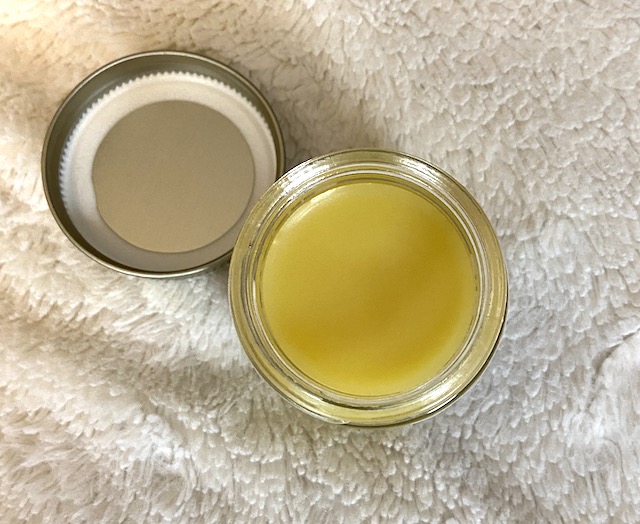
A picture of the color of Yay for Earth sensitive skin face lotion

After using this product for a few weeks, there is nothing that I dislike about it. 😬 The only thing I can really think of is that it isn’t a typical lotion consistency – which was expected. This doesn’t bother me at all, but it could bother some people. The product feels oily (as it is oiled based), and you need only a tiny bit. If you are accustomed to other moisturizers this might take some getting used to.

Lastly, I was going to quickly talk about price. I purchased the 2 oz jar for $28, but there are three other sizes to choose from as well. Because you only need a small amount each application, this product will last me a long time – so I definitely think it is worth the price! There are many other brands that sell similar products for less than this, but also many who sell for more. So, use your dollars wisely and vote for sustainability! 😊 I’d 100% recommend the Yay for Earth lotion!

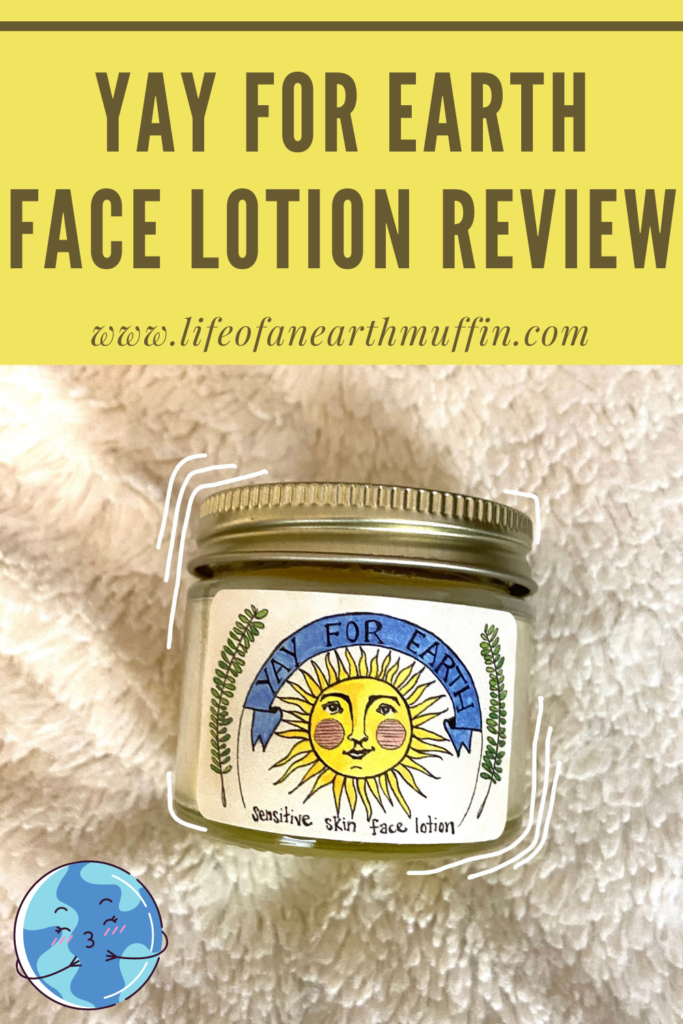
Yay for Earth face lotion review pinterest post
Pin now to read later!

Love,
Jenna ♥

➡️ Subscribe to never miss a post! ⬅️

Loading