bookmark_borderSimple Ways to Make a (New) Space Feel Like Home!

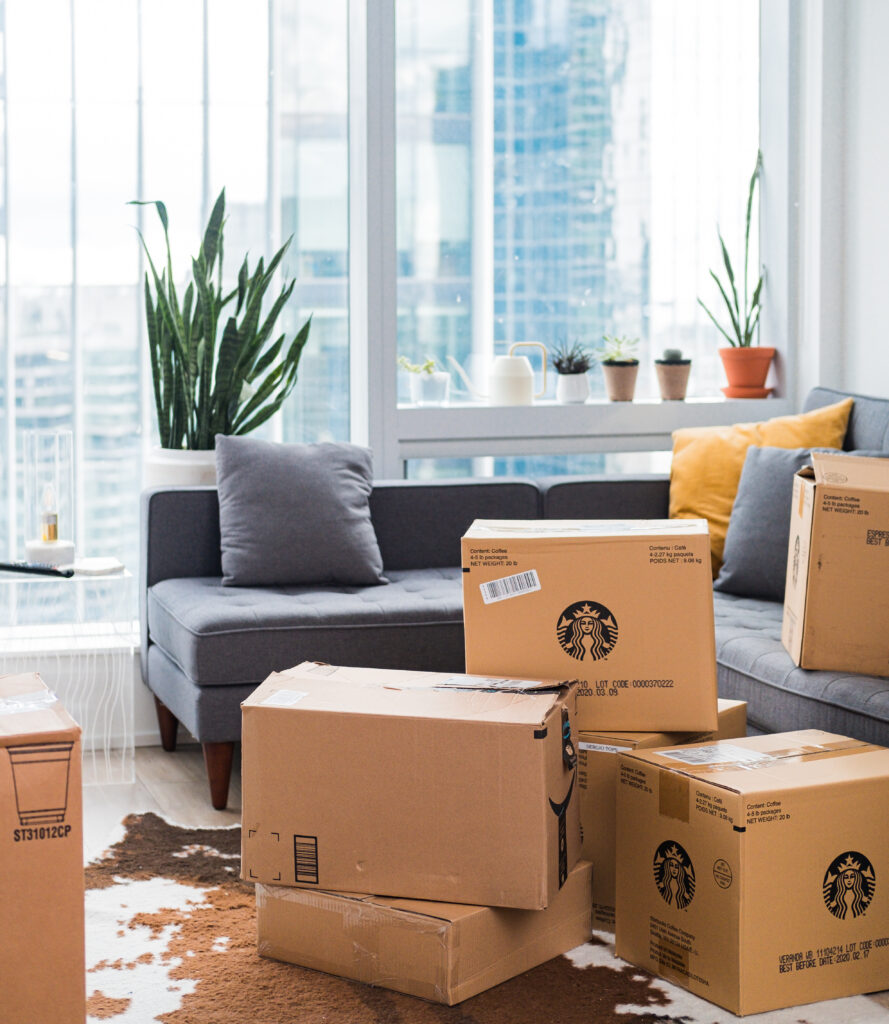
Hey muffins! As I mentioned in my last post, my boyfriend and I are officially moved into our new place. πŸ˜ƒ While it was difficult to stay sustainable throughout this process, there were a few things we were able to do during Plastic Free July to reduce our waste. Now that we are a few days into the unpacking process, I wanted to share some of my favorite tips for making a new apartment/space feel like “home”. Moving can be a chaotic process, so I find it absolutely essential to do these things to keep my mind at ease. Let’s jump right into it!

Ways to Make You Feel at Home

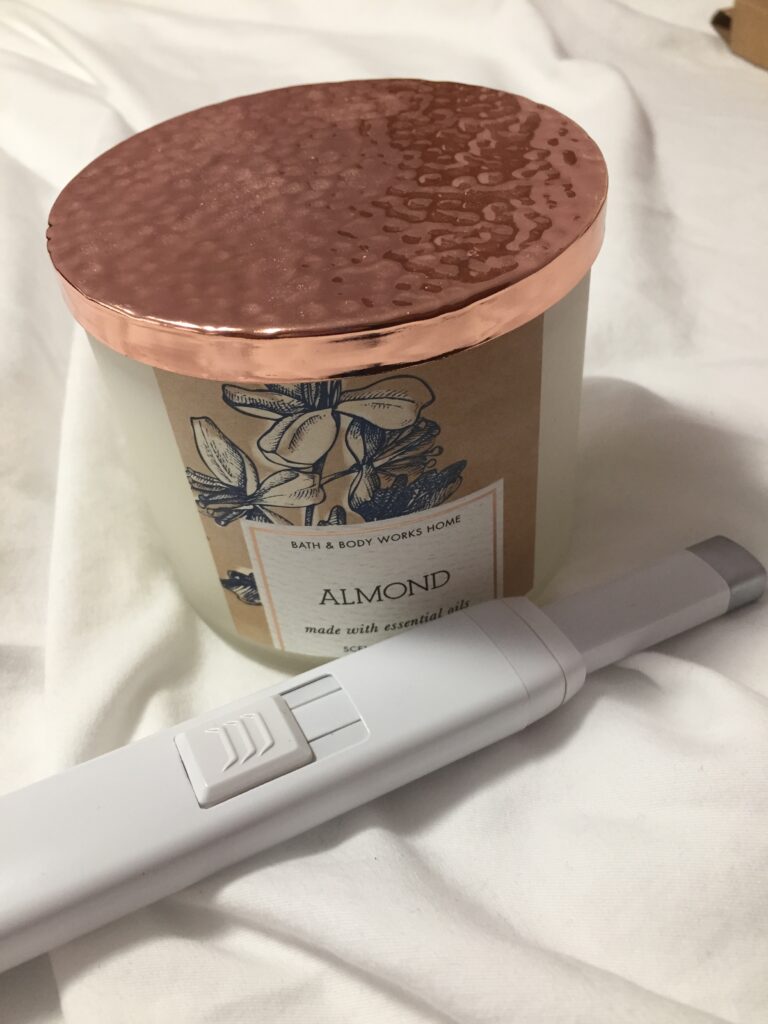
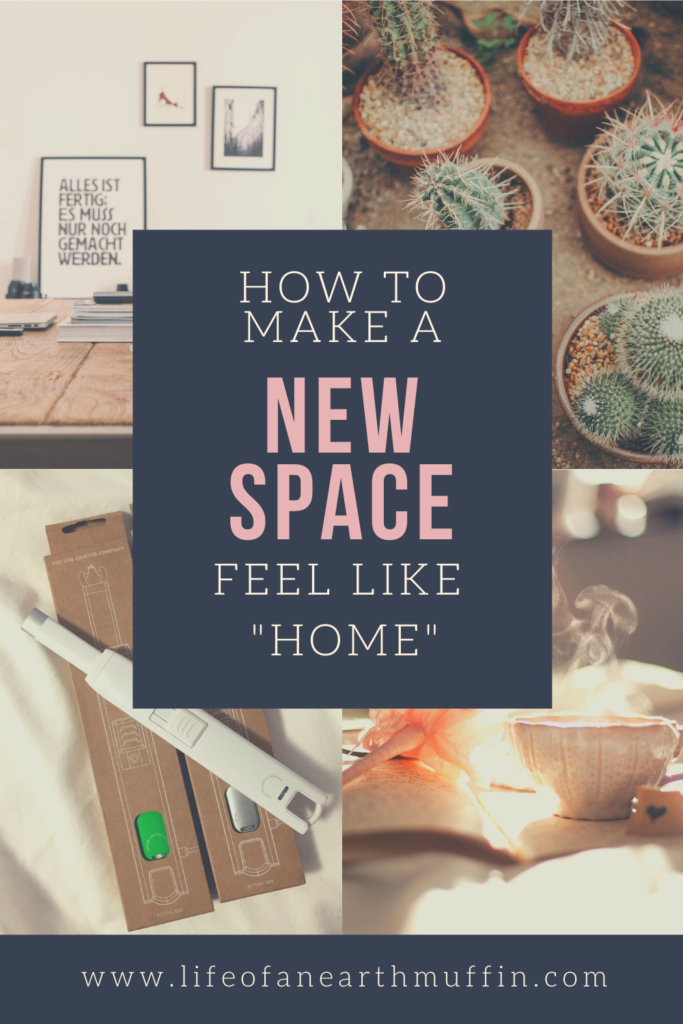
*Burn a candle while you unpack. Scents have always helped me cope with stress and anxiety, so keeping a candle burning is a must. Plus, it can get your new apartment smelling delightful! When choosing candles, make sure you buy soy wax from local sellers. Many candles from brands like Bath & Body Works are quite bad for the air/environment… So keep yourself healthy by choosing soy! πŸ•―οΈ

Also make sure you buy an eco-friendly lighter, like The USB Lighter Company’s! I wrote a whole review of this product, and I still LOVE their lighter. It is rechargable, has a sleek design, and is one of the first things I unpacked – definitely a must have for making your apartment feel like a home! 😊

*Keep the window shades open and get some natural light! Nothing is more depressing than unpacking boxes in dim lighting; make sure you get plenty of sunlight for your Vitamin D! Plus, this will keep you in a nice and happy mood in your new home.

*Add some nature to the space. My plants were some of the first things carried into the new apartment; my boyfriend’s family also gave us some flowers to celebrate us moving in together. πŸ’ While a simple touch, having a bit of nature and bright colors/greens truly help make your new space feel homey.

A picture of a blue wall with a window, with succulents on the windowsill

Ways to Make You Feel at Home When Unpacking

*Get rid of the boxes as you go! I have been unpacking one room at a time; as soon as I am done with a box (or a couple of boxes), I take them outside to the recycling bin. This helps both to declutter the space and to declutter my mind… And it gives a more accurate depiction of what else needs to be unpacked! While it might sound like a small thing, it definitely helps a new space feel more like your own. πŸ₯°

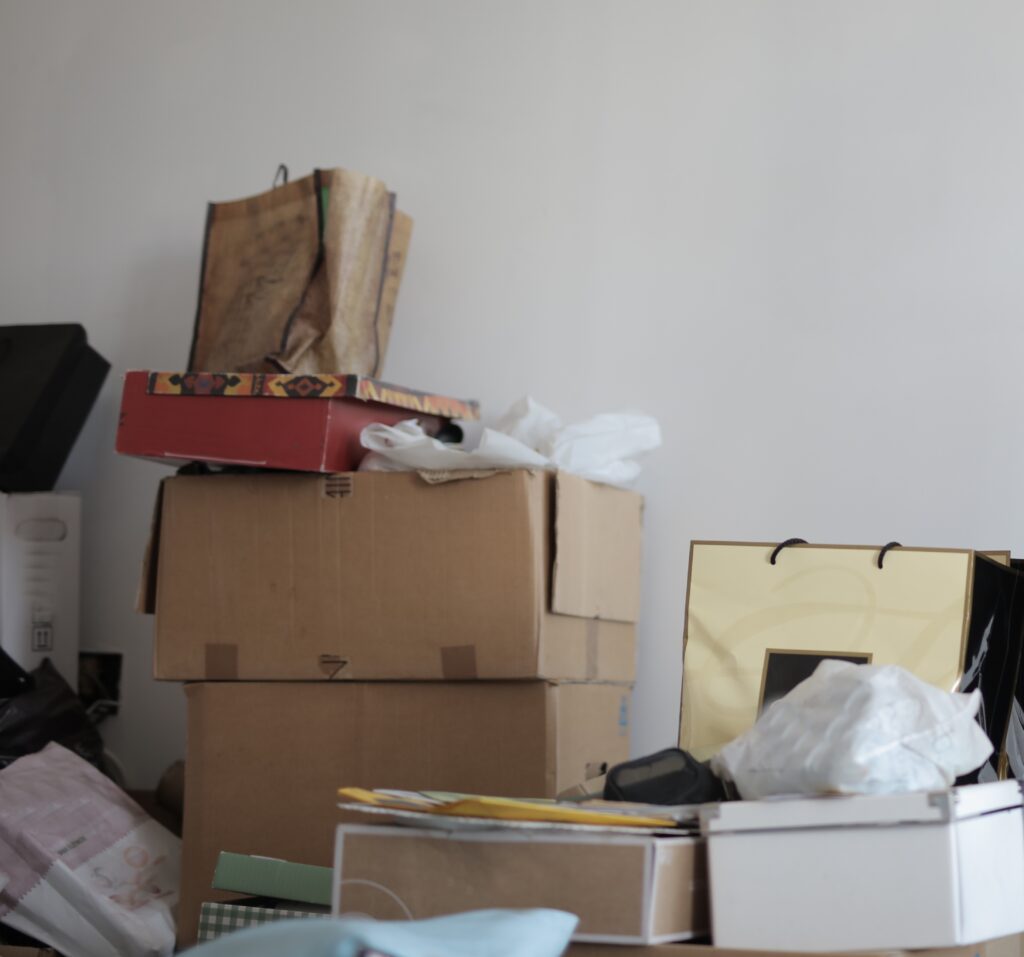
*Get rid of any clutter than somehow made the move. While one of the things in my eco-friendly moving post is how I declutter as I pack up, there were still a few things that slipped through the cracks. It is important for everything to have a meaning in your space, so donate items that you don’t want! This will ultimately make you feel at home and at peace with the material goods in your new space.

A picture of a cartoon rack of clothes

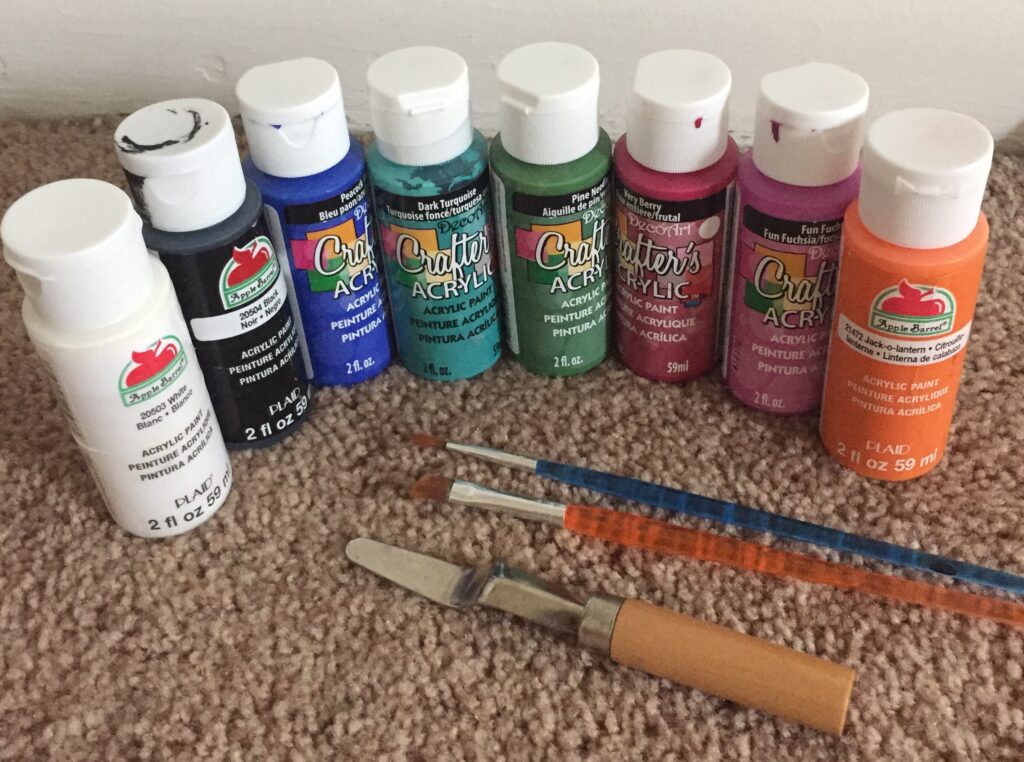
*Save the decorating for the final step of unpacking! Decorating the walls is my absolute favorite step whenever I move, so I often set aside a corner of the apartment and pile up all my wall decor there. After everything is cleaned and unpacked, reward youself with the decorations. πŸŽ‰ I think this step is the cherry on top for making a new space feel like a home! What are some of the first things you do when unpacking?

How to make a new space a home
Pin now to read later!

Love,
Jenna β™₯

➑️ Subscribe toΒ never miss a post! ⬅️

Loading

bookmark_borderI Followed a Bob Ross Painting Tutorial 🎨

Hey muffins, I hope everyone had a marvelous weekend! My boyfriend and I officially moved into our new place, so it was a bit stressful/chaotic for us… But, everything is all settled now! I don’t start my job until September, so I have a lot of time to make the apartment look exactly how we want. πŸ™ƒ In the spirit of decorating and creativity, for today’s post I wanted to write about my experience following a Bob Ross tutorial.

When I was finishing up packing the stuff remaining in my parent’s house during quarantine, I came across a few containers of acrylic paint and a couple paintbrushes:

A picture of eight bottles of different colored acrylic paint

Now I’ve dabbled in arts and crafts throughout my life, but painting has never been something I have gotten into. I have tried it out in art classes, but never liked the end result. However, quarantine had me super bored so I decided that I was going to give it a try! 😝

What Bob Ross Tutorial to Follow

Because I was limited in colors I decided that I wanted to try to paint a winter scene first. The Bob Ross YouTube channel has a TON of videos to follow, which are all about 25-30 minutes long. There are many different types of paintings to follow along to: seascapes, sunsets, mountains, trees, etc. I chose a simple mountain scene with some trees and hit the play button….

My Thoughts on the Tutorial

Bob Ross does such an excellent job of teaching you how to paint something that looks complicated! 😍 He takes a snow covered mountain and helps you paint it in layers, thus creating shadows/shading that makes for an extremely realistic art piece. He also reinforces that nothing is a mistake, just a “happy accident” as you paint. This was such a good reminder for me, as I often want things to look absolutely perfect… But some mistakes can turn out even better!

This tutorial was a bit harder for me overall as I didn’t have the same brushes and colors as Bob Ross. But, that just allowed for more creativity to make the work my own! I would say it took me about one hour to follow this 25 minute tutorial, as I would often pause it to finish up certain steps. It is also important to note that I excluded the cabin at the end of the tutorial. All in all, I think it turned it out amazing; everyone should try out a Bob Ross tutorial at some point!! Regardless of skill (because seriously I was a beginner beginner painter), you WILL be able to create an awesome painting by following one of these tutorials.

If you don’t believe me just look at all the other paintings I have created since then! For some I followed along to other Bob Ross tutorials, but for others I just followed me heart. 😁 What art will you create in the near future?

A picture of a Bob Ross painting
Pin now to read later!

Love,
Jenna β™₯

➑️ Subscribe toΒ never miss a post! ⬅️

Loading

bookmark_borderHow to Have an Eco-Friendly, “Green” Move

Hey earth muffins! As many of you know, I am currently in the process of moving across the state. My boyfriend and I are (finally) moving in together! 😍 I will officially be moving out of my Ann Arbor apartment this weekend, so this week has been full of packing. All of this moving excitement has inspired me, so I wanted to write a post today all about how you can have an eco-friendly move. This fits perfectly with the spirit of Plastic Free July!

A picture of an apartment with moving boxes in the living room

Tips for Staying Green When Packing

The number one thing I would recommend is to use boxes you already have. I was lucky enough to have a lot of extra closet space in my current apartment (as well as a storage bin in the basement of the complex); when I moved in last summer, I just kept all of the boxes! If you end up collecting more things throughout the year, I suggest saving the boxes from anything you get in the mail. You can also ask family and friends to save some boxes for you!

If you have to buy extra boxes or other packing materials, try to buy those that can be recycled. Many cardboard boxes can easily be recyled, but plastic tapes and bubble wrap are difficult to recycle. I suggest avoiding all plastic altogether – utilize clothing and linens you need to pack anyway to cushion fragile items! Not only is it more eco-friendly but it also saves space in your packing. πŸ™‚ In terms of tape, there are actually paper tapes you can buy instead of the plastic ones. I personally don’t even use tape to close my boxes, but I would definitely check out the paper options!

A stack of moving boxes

As you pack, declutter!! When will you be going through everything you own again in the near future? It is the perfect opportunity to minimalize and downsize your possessions. But, make sure the items you don’t want anymore are reused in some way: sell them on Facebook Marketplace, donate to your local thrift store, or give to those who need them in your community.

How to Stay Eco-Friendly During the Actual Move

Make sure you take EVERYTHING with you from your old place! It is a common practice in a college town like Ann Arbor for students to just leave everything (even furniture) and buy new at the next place. This is, obviously, terrible for the planet. 🌎 Even if something is a hassle to move, still take it with you! Because you own it, you are responsible for its lifecycle. This also goes for little things: clean your shower rings, save your wall decals, keep the nails you remove from the walls, etc. These will have a use in your new place! πŸ˜€

Lastly, try to reduce your trips going back and forth to the new place. Because I am literally moving across the whole state, I hired movers to ensure I would only have to move once. Not only do I drive a tiny Kia Soul, but I will be lugging a queen mattress too – so movers were a must! Taking trips back and forth might seem more budget friendly, but I encourage you to borrow a friend’s van or something to reduce the trips you take!

A picture out of the front window of a moving van, showing the highway in front of the driver

Wish me luck on the move this weekend, I can’t wait to update you all on my new place. πŸŽ‰ What do you do to reduce waste when you are moving?

A picture of a stack of moving boxes with the words "how to be green when moving" over top
Pin now to read later!

Love,
Jenna β™₯

➑️ Subscribe toΒ never miss a post! ⬅️

Loading

bookmark_borderMy Thoughts on Being Vegetarian for 1 Year!

Hey earth muffins! I hope everyone had an amazing weekend – I am now 75% done with my CPA tests. πŸŽ‰ I took my third exam yesterday; my boyfriend and I also got the keys to our new apartment! I will officially be moving all my stuff on the 25th, so I still have a lot of packing to do. If you have been following Life of an Earth Muffin for some time, you might know that I started a meat-less diet last July… It has now been a whole year being vegetarian, so I thought I should write a post about it. So let’s jump right in!

Why Did I Go Vegetarian?

For starters, it is no surprise that refusing to eat meat is way more sustainable. The meat industry has an enormous negative impact on the planet, so I figured I shouldn’t continue to support something I don’t agree with. I also definitely do not agree with the terrible treatment of the animals raised to be slaughtered; my boyfriend and I came across a chicken farm last summer and it absolutely scarred me. 😣 It was so sad to see the animals like that. I also wanted to see if eating a plant based diet would improve my health and the appearance of my skin. I am blessed to be healthy overall, but my skin will often flare up with hormones and stress. So, I wanted to see if being a vegetarian would help with that!

A picture of a stop sign with a Eating Animals sticker underneath

It is also important to note that I should really be saying I was a “pescatarian” for this past year, as I did eat seafood. I have had the problem of being underweight my whole life, so I didn’t want my body to take a huge hit by going off many sources of protein. But, now that my body is adjusted to alternative sources of protein, I may try to stop eating seafood as well (as fishing also poses a huge sustainable issue!). 😊

What Have I Noticed Being Vegetarian?

1. My grocery bill got smaller. As I mentioned in my grad student budget post, I averaged about $53 for groceries each month. It should be noted that I didn’t really try out many β€œmeatless”/vegetarian β€œmeat” products, which would probably cost a lot more. But, I still think being a vegetarian has saved me money this year!

2. My body feels great! It never necessarily felt bad when I was eating meat, but I feel like I am more lean and healthy now. While I do get a bit more gassy than I used to (thanks to eating a lot more beans haha), I have never felt better! On the flip side, I didn’t really see any difference in my skin. This wasn’t a huge shock, but it is nice to know that it really is just hormones and stress that break me out. πŸ€·β€β™€οΈ

A picture of a hand holding a mango

3. People judge you and often act like it is super hard to cater to a vegetarian. While I was lucky my roommate was also a vegetarian and my family was (decently) okay with it, other people like to judge. β€œI don’t know what to cook for you” is a common thread I heard… But it isn’t actually a big deal to cook for someone who doesn’t eat meat. Just make what you were going to make and they will avoid what they can’t eat!

What Were Some Benefits?

1. I definitely tried more new recipes being vegetarian. I have always shopped once a week to ensure my fridge is stocked with fresh, whole foods. But, incorporating new vegetables, sources of protein, etc. this year allowed me to try some awesome recipes! I absolutely love to cook and am excited to continue exploring in my new, larger kitchen!

2. I learned what restaurants are veggie friendly. Some restaurants have great veggie options; others do not. It was fun going to my favorite establishments to see if they have good meatless options… Even some fast food establishments like Taco Bell have a whole vegetarian section of their menu! While fast food isn’t the most sustainable options, there are ways to reduce your waste. But, sit down restaurants are much better in terms of sustainability; they often have many more veggie options as well!

A picture of Taco Bell's online menu, featuring the vegetarian tab

Should You Consider Being Vegetarian?

I will 10000% be staying a vegetarian. It wasn’t as challenging as I thought it was going to be. And, I have loved the benefits I have seen so far. If you have ever been interested in becoming a vegetarian, the best time to try is NOW! 😍 By not eating meat on one day each week you can reduce your impact; try for a meatless Monday! It is such a great way to reduce your impact on the planet. What are your thoughts on being a vegetarian?

A picture of a veggie burger with the words "My thoughts on being vegetarian for one year" around it
Pin now to read later!

Love,
Jenna β™₯

➑️ Subscribe toΒ never miss a post! ⬅️

Loading

bookmark_borderEasy Sustainable Swaps to Make this Plastic Free July

Hey earth muffins, I hope everyone has been enjoying the first half of Plastic Free July! It is crazy to think that the challenge is almost 50% over; but don’t worry, that is plenty of time to continue your sustainable journey! 😊 When I became passionate about reducing my impact on the planet, I often got asked what sustainable swaps are “easiest” to make first. As many of you may be starting your own adventure towards living low-waste, I thought I would share the best (and budget-friendly) switches you can make today!

3 Sustainable Swaps Everyone Should Make!

~Buy yourself a safety razor! I cannot recommend one enough. You will save money in the long term by avoiding the need to purchase another razor; plus, you will prevent a ton of disposables from ending up in the landfill. They are easy to use and give such a nice shave! The razor blades can last for quite some time, and you can buy a pack of 100 for only $7.

A picture of a metal safety razor
I bought this razor two years ago and I still LOVE it!

~Invest in some reusable produce bags. I feel like most people come across reusable bags from college events, conferences, etc. but it is nifty to have some for produce or bulk bin shopping. They are cheap, can be thrown in the washing machine, and save you from using those single use plastic bags at the grocery store. πŸŽ‰ Click on the images below to check out my favorites!

~Switch to bar bathroom products! I’ve raved about why I use bars over bottles in the past, and I will continue to do so to avoid the plastic that comes with many bath products. It is easy to find bar products now: homemade soaps at the farmer’s market, shampoo bars from Lush or on Amazon, even specialty websites like Ethique! Make sure you use up your plastic bottles before switching.

A picture of a soap container, a great sustainable swap to keep your bars dry
Make sure to protect your bars with a nice soap container like the one I use!

2 Easy Swaps You Can Make!

~Buy reusable cotton swabs. I don’t use Q-tips to clean my ears (I prefer either using water or a metal ear pick). But, I have an acne cream that has to be applied with a cotton swab. I decided to purchase a set of reusable cotton swabs to ensure I wasn’t creating any excess waste! My skin is quite prone to break outs if I’m not careful; I definitely wasn’t about to give up the cream that works! Check out companies like Last Swab or knock off Amazon versions (which do tend to be cheaper!).

A picture of a container with two reusable cotton swabs inside
I bought this one for only $5! πŸ˜ƒ

~Find an alternative to saran wrap! I got a comment regarding replacement options for plastic wrap on my post about what to do with old plastics in your home. There are quite a few easy sustainable swaps you can make. My faves are beeswax wrap, silicone covers, reusable Ziploc bags, and reusing containers you already have! If you are interested in any of these, click on the picture below to learn more πŸ™ƒ

All in all, there are SO many easy sustainable swaps you can make during Plastic Free July! 😁 These were some of the first ones I made, so I highly recommend. I also featured some other swaps on my Instagram account; make sure to check that out as well! What are you doing to stay sustainable this Plastic Free July?

A picture of 5 easy sustainable swaps everyone should make
Pin now to read later!

Love,
Jenna β™₯

➑️ Subscribe toΒ never miss a post! ⬅️

Loading

bookmark_borderHomemade Fortune Cookie Recipe!

Hey muffins! As you are reading this post, I am taking my second CPA exam πŸ˜ƒ To send good fortune my way, I thought I would share a recipe I tried a few weeks ago. I am a huge fan of Asian cuisine and made a full menu for my family recently. While the shrimp fried rice was the star of the show, I ended the meal with a homemade fortune cookie recipe. These were actually quite simple to make, so I would recommend it if you are looking for a new dessert to try out!

A picture of a plate of homemade fortune cookies

What You Need:

-3 egg whites (I used the egg yolks in my fried rice!)
-1/2 cup melted butter, cooled
-1/4 tsp vanilla extract
-1/4 tsp almond extract
-3/4 cup sugar
-1 cup flour
-2 Tbsp water
-Mug for folding

A picture of a homemade fortune cookie on a metal tray

Fortune Cookie Recipe

1. Make your fortunes! Believe it or not, I actually skipped this step as I didn’t want to take the time to write out a bunch of fortunes. BUT, if you aren’t lame like me you can write out your fortunes on small strips of paper.

2. Preheat your oven to 350 degrees. Line a baking sheet with parchment paper so that the fortune cookies do not stick.

3. In a bowl, whip together egg whites and sugar for about two minutes. The mixture will look a bit frothy. Next, stir in the butter, extracts, flour, and water one at a time; mix on low after adding each one.

4. When everything is combined, use a spoon to spread it into circles on the tray. Try to spread the batter as thin as you can, as this will help with the folding later!

A picture of fortune cookie batter in circles on a baking tray

5. Bake for about 6 minutes, or until the edges are brown. As soon as the edges start to turn I recommend taking them out, even if the rest of the cookie isn’t the shade of fortune cookie you are used to. The sacrifice you must make when not using artificial dyes haha!

6. Time to fold! πŸ₯  This process must be done ASAP when the cookies are pulled out, so have as many hands on deck as possible! The dough will be extremely hot, but I found that putting it on a small piece of parchment paper when folding works greats!

To fold:
1. Place a fortune in the middle of the circle.
2. Fold the cookie in half.
3. Put the cookie over the edge of a mug to get its signature horseshoe shape!

Remember – the colder the cookies, the harder it is to fold and the more likely your cookie will crack!

7. Set the folded fortune cookies in a muffin tin so that they don’t open. Let them cool down/harden; ta-da, a delicious way to end your meal! What tasty treats have you been cooking recently?

A picture of a plate of fortune cookies
Pin now to read later!

Love,
Jenna β™₯

➑️ Subscribe toΒ never miss a post! ⬅️

Loading

bookmark_borderI Tried a 2 Week Chloe Ting Ab Challenge πŸ˜€

Hey earth muffins! Mister Corona has, no doubt, impacted everyone’s lives in so many ways. While I have been spending most of quarantine studying for my upcoming CPA exams, I also jumped on board a trend I never would have seen coming: Chloe Ting. When the stay at home orders were first issued, my Instagram and YouTube feeds blew up with people talking about β€œChloe Ting”. I had no idea who she was, but after doing some research I was lowkey inspired. I have always wanted abs, so why not try out a Chloe Ting ab challenge when I was stuck at home?

As someone who never exercises other than taking long walks, I thought a structured workout routine would be beneficial. Even if I wasn’t going to get actual abs, I thought it would be smart to be a bit healthier to ward off any pandemic germs. 😬 So, in my planner I added Chloe Ting to my to-dos for 14 days straight; here are my thoughts on my ab challenge experience!

The Chloe Ting Ab Challenge I Picked

Because I never usually do workouts to build my muscles, I wanted to select a Chloe Ting challenge that wasn’t going to be impossible to complete. The video I used was her ten minute ab challenge. If you are trying to get fully shredded (like Matt the Radar Technician), there are three other videos you can do alongside this one for a two-week shred challenge. But, I just decided to see how an ab workout would work for me. πŸ˜„

Ab Challenge Week 1

For only a 10 minute video, Chloe works you HARD 😰 After doing two different exercises for 30 seconds you only get 10 seconds of rest before moving on to the next – it can be brutal at times! Day 1 wasn’t too challenging; I spent some time making sure I was doing each exercise correctly which made the workout feel shorter. If you decide to try out one of her workouts, I suggest watching it a couple of times before you physically try it out. This will allow you to work out harder on the first day because you will actually know how to complete the different exercises.

I was SO sore on days 2 and 3 because (obviously) I had been working out muscles I didn’t use often. After these days though I never felt sore, only that tight crampy feeling you get during the actual workout. No joke, I had the outline of abs by day 4!! I’m not talking about an outline of each set of abs, but that β€œ11” on your stomach that makes you look hella good. This was definitely motivation to keep going with the challenge!

A picture of a woman in a sports bra with her abs showing

I also loved that Chloe incorporates a lot of different types of exercises into one workout. Because there is a variety, it makes the workout go by much faster as you are doing something new constantly. It also allows people of many different abilities to try out her workouts – which I love! πŸ˜… While there were some exercises that I hated (like up and down planks or plank jacks) I found some new exercises that I actually enjoyed.

Ab Challenge Week 2

Was it hard to keep up the challenge for 14 days straight? Yes and no. The challenge is only 10 minutes, so there isn’t an excuse for being too busy to do it each day. But, there is always that initial time of feeling unmotivated to exercise. To counter this, the fact that I could see the results so early was motivation to keep it up. πŸ’ͺ

By the second week, I had the order of the exercises basically memorized. This was awesome because it enabled me to focus on the best form and push my body to complete more reps of each. I will tell you – the back track of this workout gets pretty repetitive and annoying at times after you have been listening to it for two weeks straight!

A woman doing a crunch on a yoga mat

Overall Thoughts on a Chloe Ting Ab Challenge

Did I see results? Yupp. I don’t think it is necessary to show you all the β€œafter” as I never took before pictures; plus, I wasn’t doing this to share my results with the world. I was doing it to feel better about my body and to make it stronger. 🀩

Will I continue with Chloe Ting? Yes and no! Based on this challenge, I actually made my own workout routine with some of my favorite exercises. I love how strong my body has been feeling, so I have been doing this routine almost every single day after my challenge has ended!! I might try out another one of her challenges to strengthen my legs and arms, but I will most likely just incorporate them into this new routine. Look out for a workout routine post in the near future!

Would I recommend a Chloe Ting ab challenge? YES. It is amazing that she puts her workouts online for free, as many people don’t have access to gyms/trainers. In addition, they actually get results! As these challenges range from low to high commitment, there is no reason to not give one a try. Now I know why so many people have been talking about her workouts, and I totally recommend you try them too! πŸ₯³ What have you been doing to stay fit at home?

A picture of a woman doing crunches with the words I tried the 2 week Chloe Ting Ab Challenge on top
Pin now to read later!

Love,
Jenna β™₯

➑️ Subscribe toΒ never miss a post! ⬅️

Loading

bookmark_borderWhat To Do With Old Plastic Already in Your Home

Hey muffins, Happy Plastic Free July! 😁 I cannot believe that this is already my third year participating in the challenge. This year I will actively post on this blog AND post every single week-day on my Instagram. Make sure to follow me to never miss any of the challenge content! While I shared a waste audit last year after the challenge came to an end, I don’t think I will be able to do so this year; I am moving mid-July which will ultimately result in me using more plastic than I would like… So, it seems kinda silly to collect it all and add to the chaos of moving across the state. Regardless of what I am doing, I challenge you all to try to collect all of the new plastic you use this month! πŸ₯° To kickoff this challenge I would like to discuss β€œold plastic” that you have in your home.

A picture of the Plastic Free July challenge logo

When making the decision to live more sustainably, there is a huge probability that there are already plastics in your house. Even if you have been doing little things to reduce your plastic consumption, there is no doubt that there will still be plastics around. So, what are you supposed to do with them when you decide to go plastic-free, zero waste, or β€œgreen”??? Here are my suggestions for dealing with old plastic that is already in your home!

1. Use Up Your Old (Single Use) Plastic!

After I made the decision to reduce my plastic consumption, the plastics I had in my apartment at the time stuck out: Saran wrap, Ziploc bags, plastic bags, food packaging, etc. It would be foolish to just throw all of this away! So, do what you would normally do and use it up. Eat those potato chips, use those bags for lunches. If you are able, try finding second uses for something that is β€œsingle use”. Reuse the Saran wrap or Ziploc bags or use plastic grocery bags for the bathroom trash. The important thing to remember this: when the plastic has been used up, find a new sustainable alternative that is plastic-free!

2. Recycle Them Properly!

A picture of a bag with a recycle symbol on it

As your plastic products start to dwindle, make sure to do your research. Disposing of it in the most eco-friendly way possible is a great step for Plastic Free July! Recycling, while not the best solution, is a great option for certain plastics. It is important to check your local recycling center’s guidelines on what plastics they will accept. There are also other ways to get rid of your used-up plastics including programs like TerraCycle. Even if you don’t think something can be reused, I suggest Googling it before chucking it in the trash! I was surprised to learn that some companies like Crayola even take back used up markers and pens. If you are unable to recycle or send back to a company, I suggest trying to find a new use for it in your home. This will still prevent it from sitting in a landfill for thousands of years! 🌎

3. Keep Old Plastic and Use it!

If something is durable and will last a long time, then keep it even though it is plastic. What good is being β€œzero waste” if you just add to the waste of a landfill by throwing out everything that isn’t β€œsustainable”? I have plenty of plastic still in my apartment from my travel toiletry bag to the hairbrush I bought five years ago. I am hopeful that they will last for many more years before I dispose of them properly.

In summary, it is important to utilize the resources you have already consumed. Whether you are trying to reduce your plastic or are on a journey towards living low waste (like me!), reusing what you already have should be the number one priority. Don’t buy sustainable products just because you want the aesthetic of an environmentally friendly home; a few pieces that have been reused for a long period of time is more helpful to Mother Earth! Will you be participating in Plastic Free July this year??

A picture of household plastics with the caption What You Should Do With Plastics After Going Zero Waste
Pin now to read later!

Love,
Jenna β™₯

➑️ Subscribe toΒ never miss a post! ⬅️

Loading