bookmark_borderWhere To Donate Your Stuff After Decluttering

Hey earth muffins! During Lent, one of the things I have been doing is participating in a “Less is More” challenge. If you haven’t seen the Netflix documentary, this challenge involves decluttering 1 item on day 1, 2 items on day 2, etc. Because I recently went through a huge decluttering, I decided to modify this challenge to 1 item per day. But I’ve noticed that I will often declutter multiple items on certain days! As the “decluttering box” in my living room gets full of more stuff, I thought I would share my tips for donating after a huge decluttering. Where to donate your stuff is a great question to ask, so I hope this post helps you make the most impact with the items you have decluttered from your life! 😊
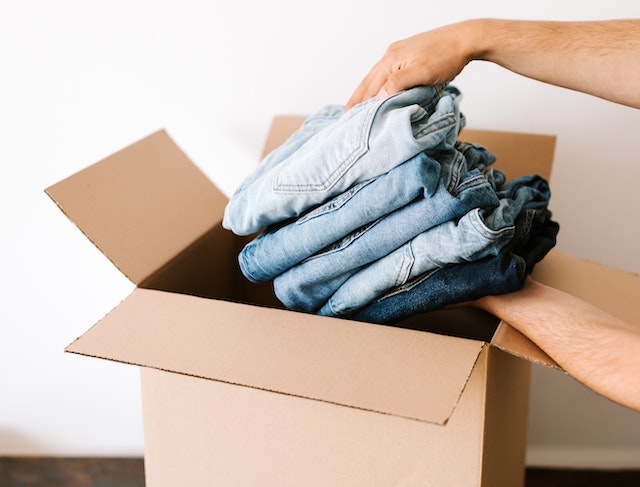
A picture of a box of donations with hands putting in a pile of jeans

Where is the Best Place to Donate my Items?

Firstly, it is important to not just take a huge load of items to one thrift store. Secondhand stores are always overwhelmed with people doing this; this results in slow processing of the items or things being thrown in the trash. Instead of just giving everything to one place, I strongly urge you to split up the items. This will allocate the resources to whoever needs them the most! It will also ensure the items actually get used, not buried on the back shelf of a Salvation Army or Goodwill.

Can you sell it?

If you have any items that you feel are valuable (and you have the time), try to sell them. I would suggest Facebook Marketplace to help out your local area, but you could also try other selling apps or even Ebay. I’ve written a whole post about how to score the best deals on Facebook Marketplace. On the selling side, make sure your prices are fair and that you are quick to respond to interested buyers. Nothing is worse than someone who doesn’t message back when you want to buy their item! 😬

Think of family and friends first!

After a decluttering, ask around and see if any family or friends are interested in anything. Especially for decorations and artwork, some people might be interested if they liked certain pieces in your home. You could also just set aside items for people without asking first. Have a friend expecting? Make a care package of some baby items you were looking to get rid of!

Post on a “Buy Nothing” Facebook group before throwing out.

I’ve noticed that I often find some questionable items when I declutter that might need to be tossed in the trash instead of donating. Before you do that though, I suggest posting it on the Buy Nothing Facebook group in your area. I’ve actually been quite surprised what people are interested in on these groups! Some people are in need and will take anything, and others will take “messed up” items for craft projects or hobbies. You could also post on Freecycle if you don’t have a Facebook account. If you find that no one wants your item, make sure you trash it so the place you donate to doesn’t have to!

For gender or age specific items, donate to shelters in your area.

There are many women shelters that are always looking for clothing, toiletries, etc. You might even have shelters specifically for children and/or teens that would love some of your decluttered items. Do a quick Google search to see if you have any shelters near you. If so, see what items they are looking for. There is usually a list on their website, but you could also call to confirm that your donations would be accepted/used.
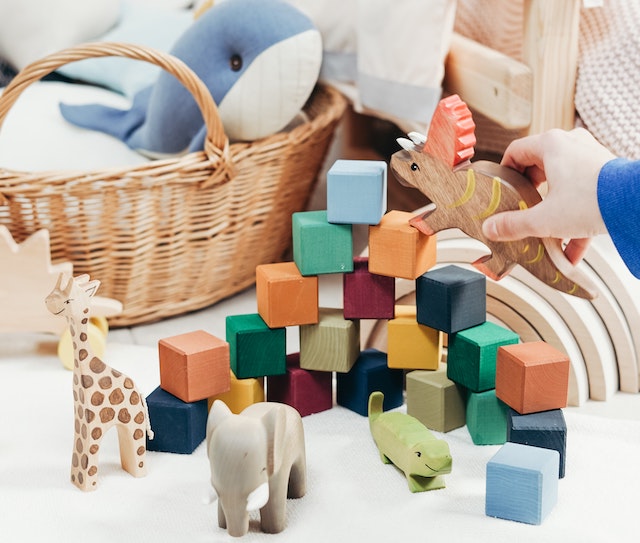
A picture of a pile of wooden toys

See if your local Ronald McDonald house will accept old toys!

I suggest calling your local Ronald McDonald house or children’s hospital with their current rules about donations, as the pandemic could have affected them. It is awesome to donate toys, games, stuffed animals, etc. to places where they are needed instead of a random thrift store in your area.

Donate to a church drive or church-wide yard sale.

My church always has some sort of drive going on whether it be hats and gloves or toiletries for the homeless. See if any drives at your church align with some items you have decluttered! I’ve also seen churches do yard sale fundraisers where donated items are sold to raise money for the church or a mission. Save some of your items for this event if your church is hosting an event like this as well!

Other Places to Donate

Obviously, you can still donate to a thrift store if you have exhausted all of your other options. Clothes are usually good to donate, but make sure they are in good condition! If they aren’t, repurpose or throw them away yourself as we wouldn’t want to partake in any wishful donating! 😊 If you know a certain store has good turnover of home goods, donate those items there. The same goes for clothes. The goal is to get the items in the hands of another person who will use it! I hope this “where to donate your stuff” post was helpful… Where do you like to donate?
Where to donate your stuff after decluttering pinterest pin
Pin now to read later!

Love,
Jenna ♥
➡️ Subscribe to never miss a post! ⬅️

Loading

bookmark_borderEasy DIY Upcycled Project: A Planter from an Old Stool!

Hey earth muffins! I shared on my Instagram a couple of weeks ago that I recently worked on a DIY upcycled craft project. I haven’t done a craft project in SO long! During middle and high school, I used to craft all the time. I loved to sculpt charms out of polymer clay and make my own jewelry. But, I eventually stopped doing that and would occasionally do some painting projects. In college I was really into following along with Bob Ross videos! It has been quite a while since I’ve done some crafting, but I just couldn’t pass up this opportunity for a fun DIY upcycled project. Let’s jump right into it!

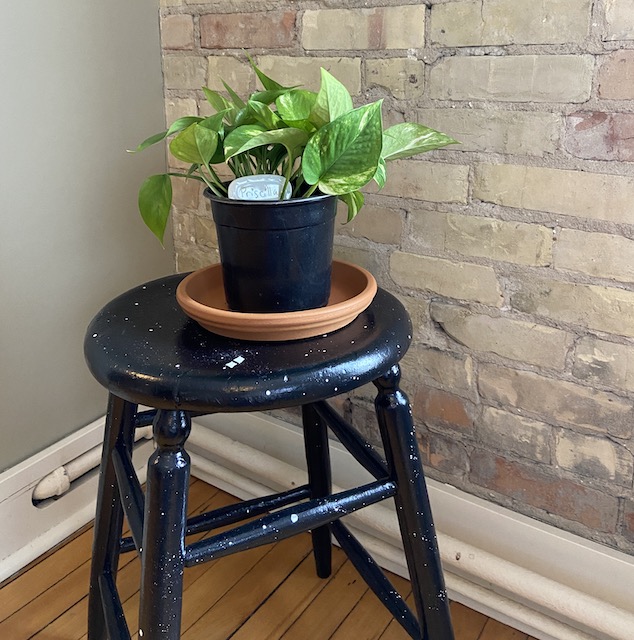
A picture of a DIY upcycled stool planter with a plant on top

From Trash to DIY

As many of you know, I currently live in an apartment complex. There are two main staircases in this building – one near the elevator and another tucked away for access to the basement/laundry room. When I was going down to do laundry one day, I noticed that someone had placed a stool and some towels in the back staircase. I figured someone had moved out and left them there. While I wanted to take the stool for this upcycled project, I didn’t want to steal something from someone who still wanted it. But, a month later, they were still there. So, I brought the stool upstairs to start my project!

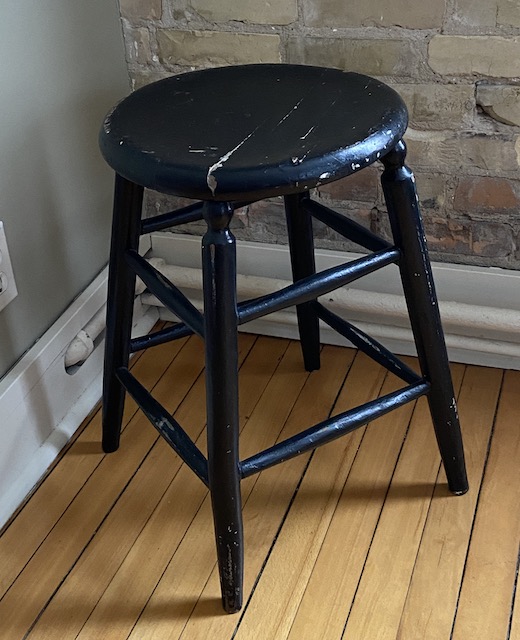
A picture of a black stool with chips and cracks
Before the DIY

There is one corner of my living room that had nothing in it. Our apartment doesn’t have AC, so we had a floor AC unit there during the warmer months. As it is obviously winter now, the unit is in storage which left behind empty space. I have been thinking about what I should put there for quite some time… The corner is by an east facing window too, so I thought it would be perfect for a plant!

What You Need for This Upcycle DIY

-An old stool: this one was in pretty rough shape, but I won’t actually be sitting in it anytime soon
-Paint: I used black and white
-Paintbrush 🖌️: I realized that I didn’t actually have a large enough paint brush… I didn’t want to buy a new one, so I used an old piece of foam as a sponge brush! It worked surprisingly well!
-Newspaper/cardboard to protect the floor: I used some from my recycle bin!
-A cute design idea: I was aiming for space themed, but there are so many cute options to try!

How to Upcycle a Stool

  1. Lay out your newspaper to protect your floor. This step is important, especially if you tend to be a messy painter/DIYer
  2. Mix the paint and start painting! Like I said above, I didn’t actually have a paintbrush, so I had to use a “dab” method to cover the stool. This was totally fine for me because I was aiming for a space, imperfect look.
  3. For areas with old paint or cracks, let the first layer dry and then paint it again.
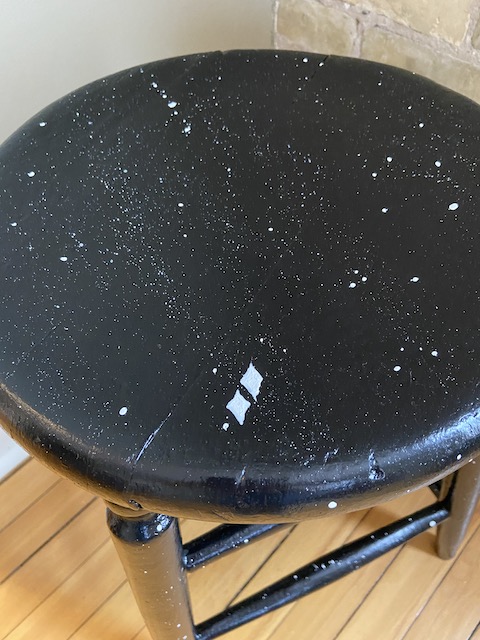
A picture of star design on DIY planter

4. Once the base is on, let dry. Add any finishing details with other colors! I went in with white paint to create lots of stars, as well as two larger stars in the front of the stool.

The Finished DIY Upcyle

I absolutely love how this turned out! 😍 I think the subtle space theme is awesome, because it isn’t obvious until you really look at the planter. For Valentine’s Day, my boyfriend bought me a gorgeous Golden Pothos… I am excited to see how big it gets! Part of me wants to paint the terracotta pot too, but I am not sure if it will look good. Any thoughts if I should paint that as well? Overall, I am really happy with this DIY upcycled project. I love that I saved this stool from the landfill (and/or sitting in that dingy staircase), and I will definitely be keeping it for years to come!

DIY upcycled stool planter pinterest pin
Pin now to read later!

Love,
Jenna ♥
➡️ Subscribe to never miss a post! ⬅️

Loading

bookmark_borderMy Thoughts on Natural Birth Control Methods – 2 Year Update

Hey earth muffins! I was looking through my Femometer data the other night and realized that I have now been using it for over 2 years! 😮 I wrote a 1 year update post about my experience with natural birth control; so, I thought it would be fitting to share my thoughts on natural birth control methods after the 2 year mark. I haven’t posted much about this topic, so I hope you all find this interesting to read about!

What Methods Do I Use?

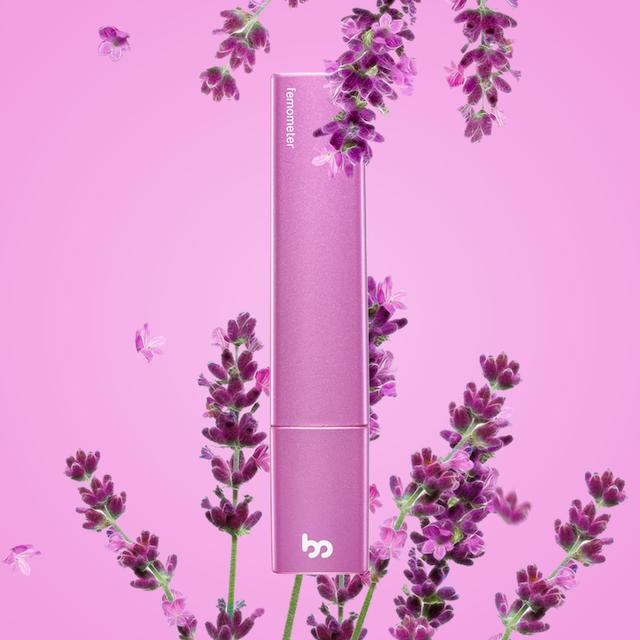
If you have been following my blog for awhile, you will know that I use two natural methods: basal body temperature and cervical mucus. I have written in-depth posts about what these methods are in the past, so I highly suggest checking them out on my birth control page if you are interested! 😊 Starting off with the basal body temperature method, this is what I use my Femometer for. The Femometer is basically a normal thermometer; but, it connects to an app on my phone through bluetooth to automatically keep track of my temperature each morning. I saw a YouTuber the other day advertising a natural birth control thermometer that requires you to pay each month. I was laughing about that because the Femometer is FREE (after of course you purchase the actual device for $40 [affiliate link]). In terms of other birth controls, this is much cheaper!

A picture of a Femometer basal body thermometer
Get your own Femometer here (affiliate link)!

Alongside basal body, I also monitor my cervical mucus. Growing up with the bare minimum knowledge about the menstruation cycle, I never knew why I had discharge on certain days. After embarking on this journey of figuring out my body and natural birth control, I’ve now learned that you can track this discharge to figure out the exact day of ovulation. The Femometer app allows you to track your cervical mucus observations as well, which is awesome because it uses this data to predict your future cycles! 😄

What Have I Learned from Using Natural Birth Control?

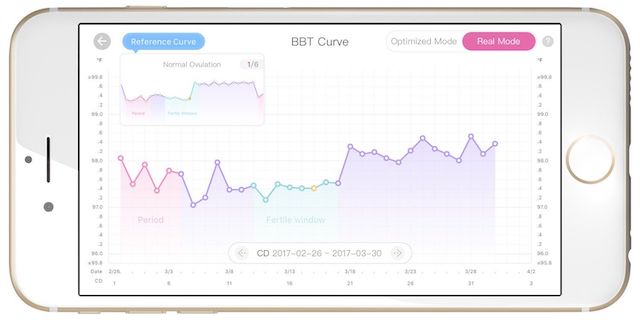
First, I learned that there is nothing wrong with my cycle. Again, I wasn’t taught much about menstruation. Health class taught me that you will have your period every month; so, when that didn’t happen for me, I always thought that something was wrong with me. It was extremely difficult to predict when my period would arrive. This definitely was added stress because there was always the possibility that I would be caught unprepared! After using the Femometer, I have learned that my cycle is completely normal – it just lasts longer than the “average woman”. A typical temperature arc looks like this:

A picture of a typical basal body temperature curve on the Femometer app

For me personally, I have added days in the time frame after my period but before my fertile days. This happens every single cycle, so the app has adjusted to this and can now accurately predict my future cycles even though mine isn’t considered an “average” one. When I used period tracker apps in the past, it would never adjust for this… So I love that I can now accurately predict it!

Using natural birth control methods for 2 years has also taught me a lot about my body and my cycle. The visuals in the Femometer app are incredible; there are so many ways to look at your current and past cycles – even options to compare temperature charts across them! When my body is feeling off or my mood isn’t what it usually is, the Femometer app usually has all the answers I need. Plus, I know the minute I wake up if my period is going to start that day, which is a pretty incredible feat. I cannot tell you how amazing it feels to know my body inside and out! 😍

What Have Others Thought About Natural Birth Control?

People are judgmental for sure! Natural birth control isn’t taught in health class or suggested by doctors. I’ve found that there is a stigma around it because people don’t understand it and are quick to judge. There is evidence that natural methods are very accurate, but no one knows about this unless you research alternatives. I personally chose the natural route because 1) I didn’t want to put extra hormones or chemicals into my body and 2) I didn’t want any side effects (becauses news flash you won’t get any of those with natural methods!).

It’s safe to say that natural birth control does take time to understand and to learn about. If you want to pop a pill each morning and just forget about it, then great! Do that. But, if you don’t, there are still options for you! It takes time to collect the data and time to learn about your cycle; but, after two years I can say that I can accurately predict my cycle by myself without any outside hormones/IUDs/patches doing it for me. As a female, it is truly empowering.

Natural birth control pinterest pin
Pin now to read later!

Love,
Jenna ♥
➡️ Subscribe to never miss a post! ⬅️

Loading

bookmark_borderWhat is an “Earth Muffin”?

Hey muffins! When I rebranded my blog from The Chic Cupcake to Life of an Earth Muffin, I (kinda) explained why I decided to change the blog name. But, I’ve been getting a lot of new viewers recently; so, I thought it would be fun to write a full post explaining what an “earth muffin” is to those who don’t know! 😀 Let’s jump right into it!

Where does the term “Earth Muffin” come from?

A watercolor painting of the earth

As I mentioned in my recent Dental Lace floss review, I grew up in New England. While my family moved about four times during my childhood, this one particular town sparks a lot of great memories for me. The town itself was by the ocean and many of its inhabitants cared about the environment. There was a co-op grocery store, my close friend ate flowers straight from the garden, and “hippie” skirts were definitely on trend. My family affectionately labeled our fellow townspeople as “earth muffins”.

Looking back on that time, the nickname probably held some negative connotations to it. My family wasn’t actively trying to reduce waste or help the environment in any way when living there, so I think the term was describing those who were trying to be as sustainable as possible. Someone who was “different” and cared a lot about the planet – funny because that is totally me now! 😂

So, what is an “Earth Muffin” then?

When trying to think about what to rename my blog, this childhood term automatically came to my mind. I did a quick Google search to see if it was actually a thing (since it just came from my family). Urban Dictionary has a definition for it, so I guess it is an actual “term”:

“Environmentally conscience, socially aware, recycles when she can, prefers organic or natural products, and will drive out of the way to support mom and pop before large consumer corporations. She’s a modern hippy but also has a practical side. She’s cute, showers regularly, and encourages others to do the right thing without being judgmental or critical.”

Urban Dictionary
A picture of a sign that says Planet Earth First

As I sum it up on the About Us page of this blog, an Earth Muffin is environmentally conscious, attempts to live as sustainably as possible, and prefers a simple lifestyle to one heavily influenced by the throw-away culture of our modern age.

Are you an “Earth Muffin”? 😍

I feel incredibly lucky that I was able to experience at a young age people who care so much about the environment. 🌎 ❤️ Alongside that, I was fortunate to be able to see the gorgeous New England nature and views right out my backdoor. This made me appreciate the planet and its beauty – the foundation of any environmentalist!

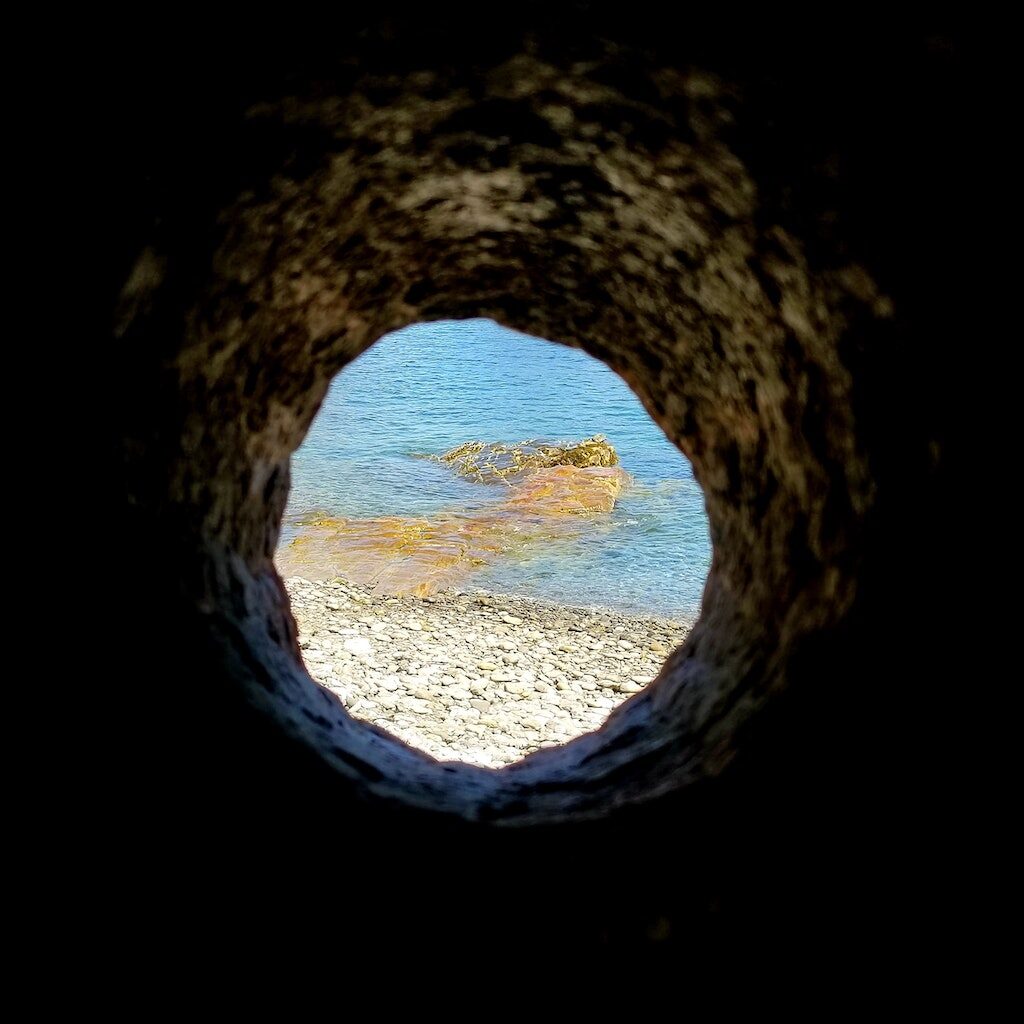
A picture of a beach in Maine

Even if you haven’t seen the ocean or huge mountains, I can bet that there is some sort of nature you can enjoy where you live. And if you want to protect that then I hate to break it to you, but you are an “earth muffin”! This blog aims to show that everyone can make small modifications to their daily routines so that they are living a more sustainable lifestyle. You probably don’t even realize how easy these steps are – but you found the right blog to follow! 😀 I hope that you join this happy muffin family and become a self-proclaimed Earth Muffin as well!

Love,
Jenna ♥

➡️ Subscribe to never miss a post! ⬅️

Loading

bookmark_borderHow to Pass the CPA Exam!

Hey earth muffins! If you have been following this blog for awhile (or are subscribed to my newsletter), you will know that I am currently trying to pass the CPA exams. I am proud to say that I have passed 3 sections and took the last section yesterday; please pray that I passed that one as well! 😊 I started studying for these exams back in DECEMBER… My test schedule was shifted around due to Mister Corona, but it feels amazing to finally have taken all 4. Because these tests are extremely daunting and difficult to pass, I thought I would share my test prep tips on how to pass the CPA exam; let’s jump right into it!

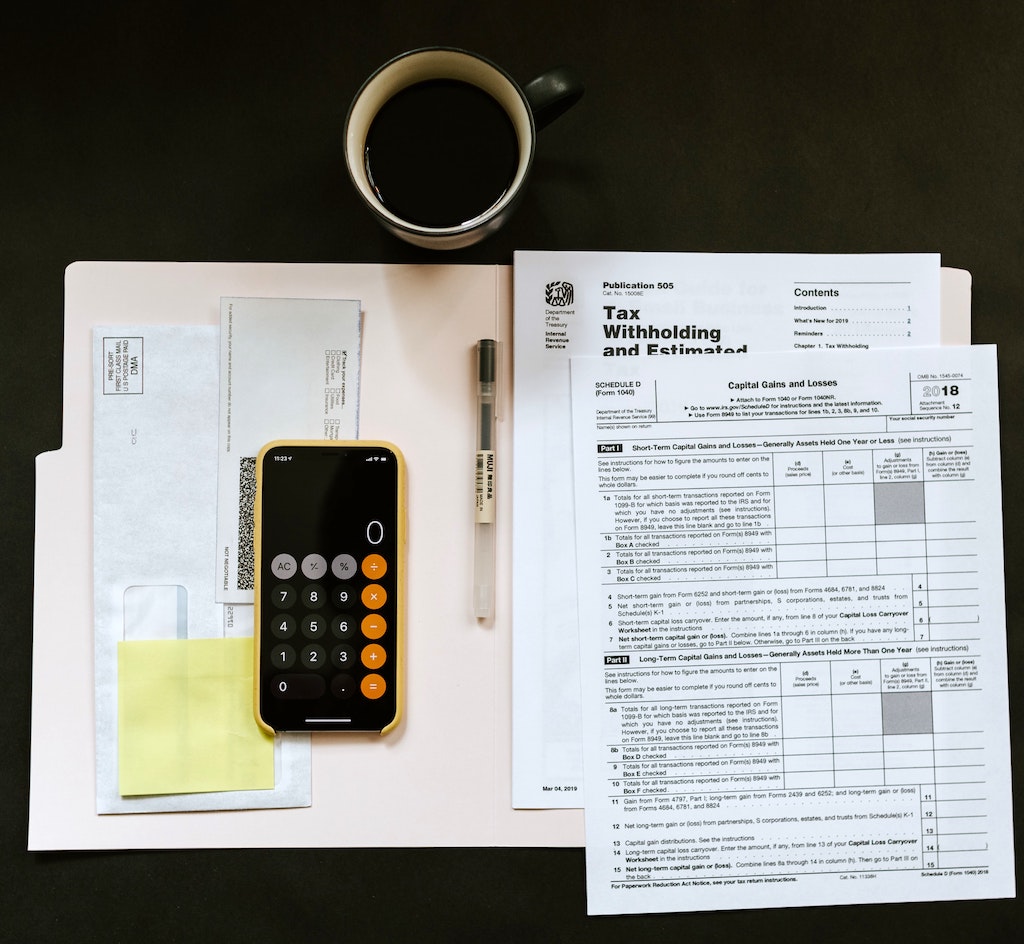
A picture of a tax return and calculator

Prepping to Study

First off, it is important to sit down and lay out your study schedule/test dates. I started studying halfway through my graduate program, so I gave myself more time for the first two tests because I knew I would have other school committments.

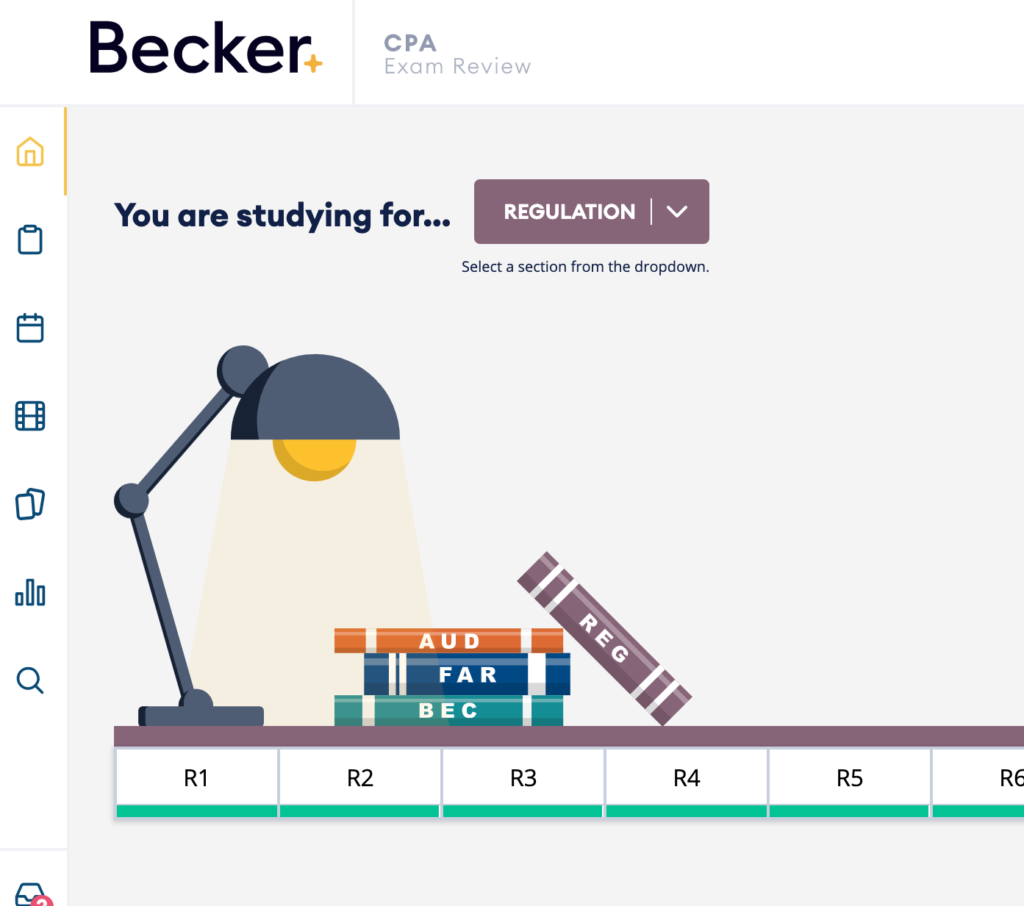
Next, it is time to gather your study supplies! As I will be working for one of the Big Four accounting firms, I was given a free Becker subscription to help with my studying. I suggest looking into some sort of study guide as well! While the test is “accounting”, it is pretty challenging to pass without utilizing a filtered study guide. The rest of my study materials included: my laptop, ear buds, the Becker textbooks, blank paper for notes, a binder to store the notes, highlighters, and nice pens.

A picture of study materials, including post it notes and pencils

How to Study for the CPA Exam – Chapters

After studying for four sections of this test, I can definitely say I have my study routine down. For context, the Becker study material is divided up into 6-10 modules that are further broken down into chapters. When I started a module, here is what I did for each chapter:

  1. Go through the Becker lectures on my laptop and highlight/take notes in the physical textbook with the instructor. (Note: I never want to hear Peter Olinto’s voice again!!)
  2. Go back through the chapter and take detailed notes on blank paper. These are what I used to study after I finished the textbook, so I made them really detailed and organized… Plus, you can draw diagrams and charts when there are no lines, so I would definitely suggest using (recycled) blank paper!
  3. Go through the Skills Check and practice multiple choice questions. If there is a question you had trouble with, write it down for reference in your chapter notes.
  4. Continue on to the next chapter! 🎉
A picture of the Becker CPA platform

How to Study – Modules & More!

While this might sound like a simple routine, there are some extra things I did after each module:

  1. Go back through my notes and create a Quizlet for any formulas/terms I need to memorize. While you do get flashcards with a Becker subscription, Quizlets are basically how I passed undergrad. I can memorize anything with that platform – even the 280+ card decks I created for the CPA exam!

And then there were more steps after I completed all the modules:

  1. Practice your mastery by going back through every chapter and completing the practice simulations. While the multiple choice is difficult during the actual test, the simulations are a million times worse. So, practice is good! While the Becker program separates simulations into chapters, I found it difficult to complete them as I was studying because a lot of the information crosses over. This can be frustrating and make you feel like you haven’t learned what you are supposed to, so I suggest waiting to the end to do the simulations. 👌
  2. Take the practice tests!! These are a great way to help pass the CPA exam. They are set up exactly like the real deal, so it is an excellent tool for time management/prepping your brain for test day.

My Overall Tips to Pass the CPA Exam!

For starters, it should be noted that there is SO much information to study for these exams – you will be EXTREMELY overwhelmed at first. It is important to not give up! This study routine worked for me, but adjust it to fit your personal strengths. Every person studies in a different way, so utilize the best practices you found in school. 😊

If you are comfortable, take the exams “hardest” to “easiest”. While some people find different tests more challenging than others, many will agree that this order is: FAR, REG, BEC, and AUD. Taking them in this order will help get the tests with the most material done first.

After you take the test, try not to worry about it too much. They are hard – you will feel really bad after coming out of the test center. But, that doesn’t mean you didn’t pass! The test I felt the worst about I did the best in, and the one I felt the best about I did the worst in… This goes to show that you really don’t know what your score will be until it comes out. While you need a 75 to pass, this is NOT a 75%… Don’t beat yourself up on test day – treat yourself (and your brain) for surviving a difficult exam!

DON’T WORRY IF YOU DON’T PASS THE FIRST TIME. There is a 50% pass rate, so don’t feel bad!! I’ve always been a great student and test taker, but these exams are difficult. They challenge you for a reason, so go out there and do your best! I believe in you. What are you tips for taking standardized tests?

How to pass the cpa exam

Love,
Jenna ♥

➡️ Subscribe to never miss a post! ⬅️

Loading

bookmark_borderSimple Ways to Make a (New) Space Feel Like Home!

Hey muffins! As I mentioned in my last post, my boyfriend and I are officially moved into our new place. 😃 While it was difficult to stay sustainable throughout this process, there were a few things we were able to do during Plastic Free July to reduce our waste. Now that we are a few days into the unpacking process, I wanted to share some of my favorite tips for making a new apartment/space feel like “home”. Moving can be a chaotic process, so I find it absolutely essential to do these things to keep my mind at ease. Let’s jump right into it!

Ways to Make You Feel at Home

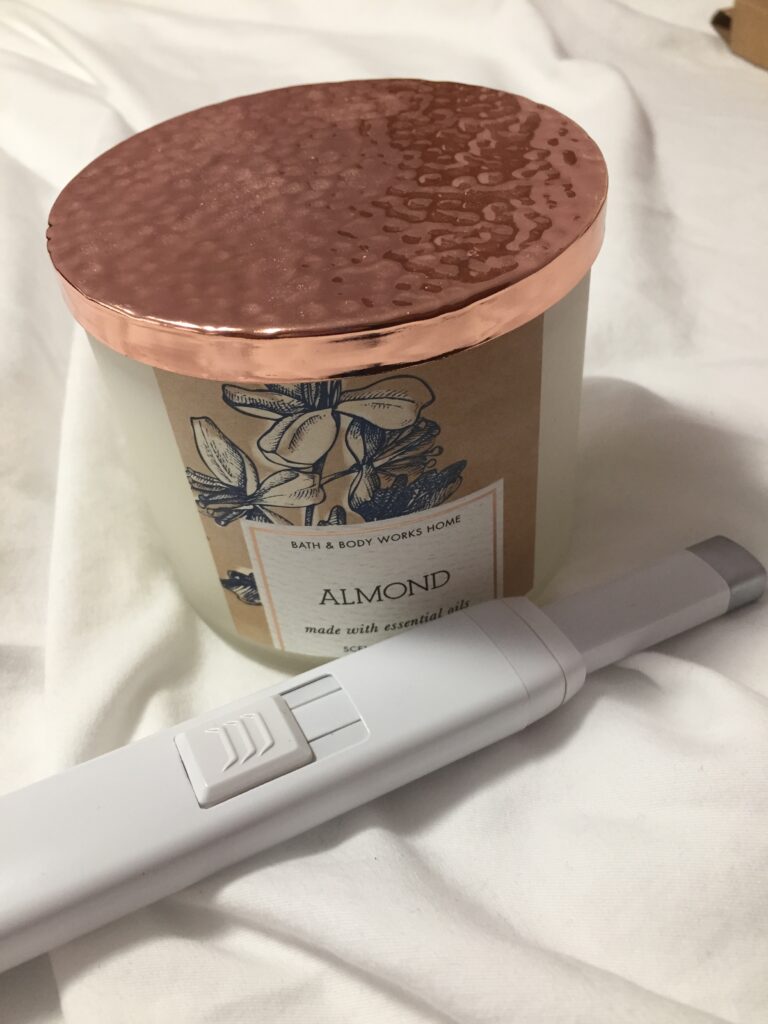
*Burn a candle while you unpack. Scents have always helped me cope with stress and anxiety, so keeping a candle burning is a must. Plus, it can get your new apartment smelling delightful! When choosing candles, make sure you buy soy wax from local sellers. Many candles from brands like Bath & Body Works are quite bad for the air/environment… So keep yourself healthy by choosing soy! 🕯️

Also make sure you buy an eco-friendly lighter, like The USB Lighter Company’s! I wrote a whole review of this product, and I still LOVE their lighter. It is rechargable, has a sleek design, and is one of the first things I unpacked – definitely a must have for making your apartment feel like a home! 😊

*Keep the window shades open and get some natural light! Nothing is more depressing than unpacking boxes in dim lighting; make sure you get plenty of sunlight for your Vitamin D! Plus, this will keep you in a nice and happy mood in your new home.

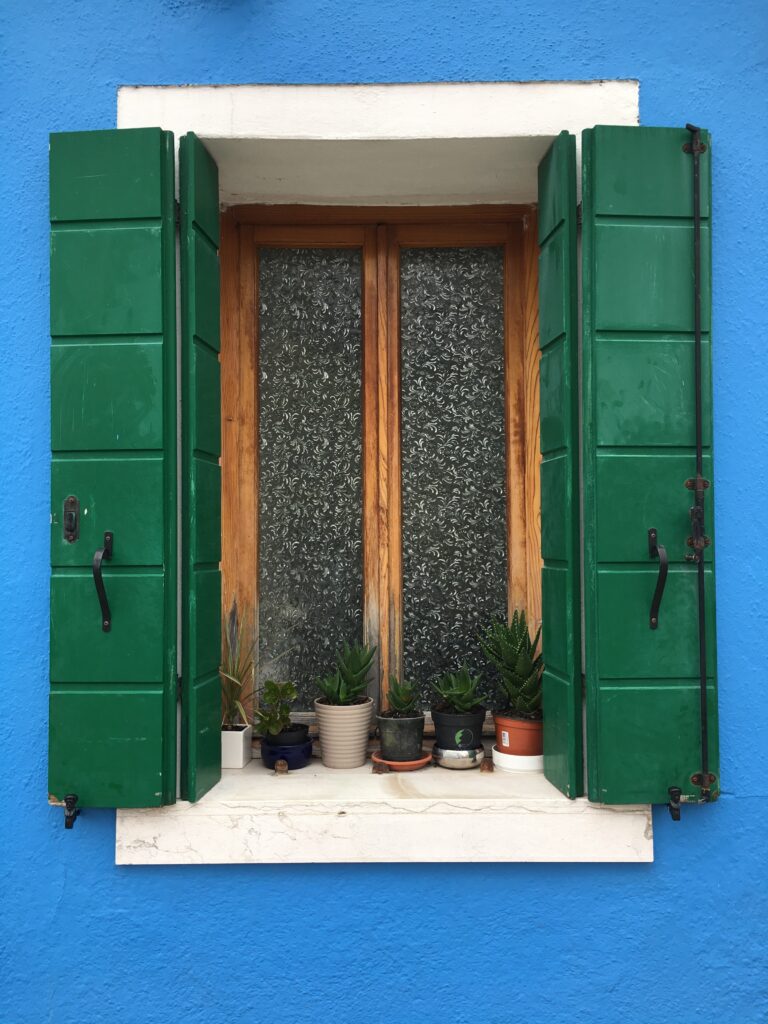
*Add some nature to the space. My plants were some of the first things carried into the new apartment; my boyfriend’s family also gave us some flowers to celebrate us moving in together. 💐 While a simple touch, having a bit of nature and bright colors/greens truly help make your new space feel homey.

A picture of a blue wall with a window, with succulents on the windowsill

Ways to Make You Feel at Home When Unpacking

*Get rid of the boxes as you go! I have been unpacking one room at a time; as soon as I am done with a box (or a couple of boxes), I take them outside to the recycling bin. This helps both to declutter the space and to declutter my mind… And it gives a more accurate depiction of what else needs to be unpacked! While it might sound like a small thing, it definitely helps a new space feel more like your own. 🥰

*Get rid of any clutter than somehow made the move. While one of the things in my eco-friendly moving post is how I declutter as I pack up, there were still a few things that slipped through the cracks. It is important for everything to have a meaning in your space, so donate items that you don’t want! This will ultimately make you feel at home and at peace with the material goods in your new space.

A picture of a cartoon rack of clothes

*Save the decorating for the final step of unpacking! Decorating the walls is my absolute favorite step whenever I move, so I often set aside a corner of the apartment and pile up all my wall decor there. After everything is cleaned and unpacked, reward youself with the decorations. 🎉 I think this step is the cherry on top for making a new space feel like a home! What are some of the first things you do when unpacking?

How to make a new space a home
Pin now to read later!

Love,
Jenna ♥

➡️ Subscribe to never miss a post! ⬅️

Loading

bookmark_borderI Followed a Bob Ross Painting Tutorial 🎨

Hey muffins, I hope everyone had a marvelous weekend! My boyfriend and I officially moved into our new place, so it was a bit stressful/chaotic for us… But, everything is all settled now! I don’t start my job until September, so I have a lot of time to make the apartment look exactly how we want. 🙃 In the spirit of decorating and creativity, for today’s post I wanted to write about my experience following a Bob Ross tutorial.

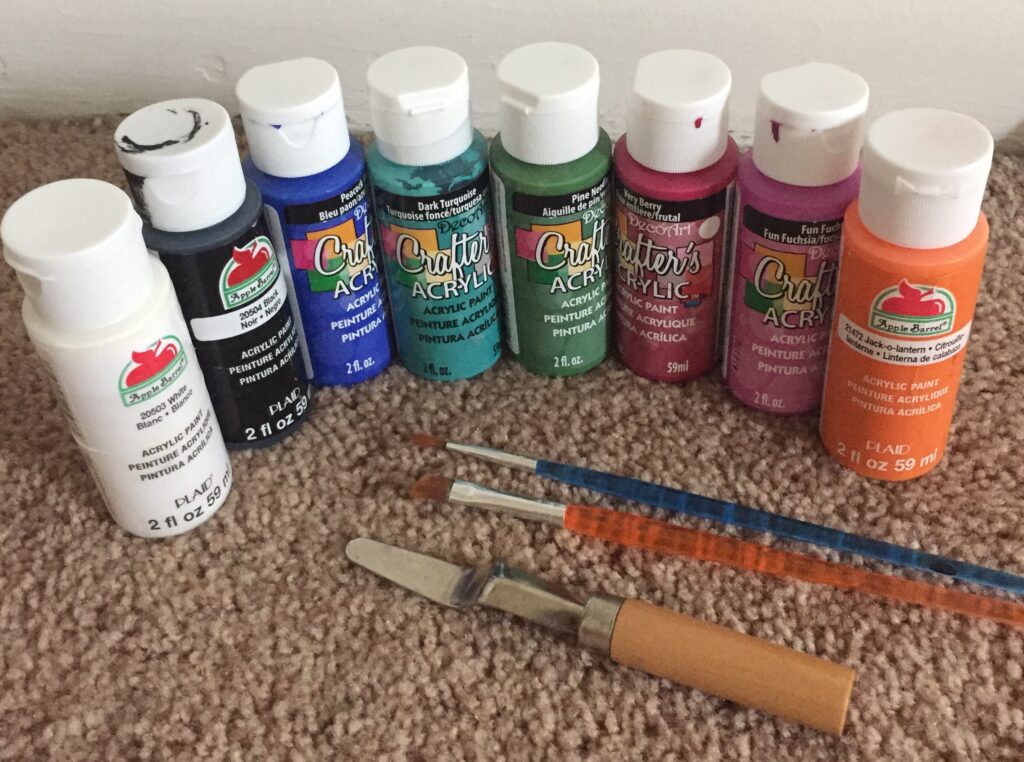
When I was finishing up packing the stuff remaining in my parent’s house during quarantine, I came across a few containers of acrylic paint and a couple paintbrushes:

A picture of eight bottles of different colored acrylic paint

Now I’ve dabbled in arts and crafts throughout my life, but painting has never been something I have gotten into. I have tried it out in art classes, but never liked the end result. However, quarantine had me super bored so I decided that I was going to give it a try! 😝

What Bob Ross Tutorial to Follow

Because I was limited in colors I decided that I wanted to try to paint a winter scene first. The Bob Ross YouTube channel has a TON of videos to follow, which are all about 25-30 minutes long. There are many different types of paintings to follow along to: seascapes, sunsets, mountains, trees, etc. I chose a simple mountain scene with some trees and hit the play button….

My Thoughts on the Tutorial

Bob Ross does such an excellent job of teaching you how to paint something that looks complicated! 😍 He takes a snow covered mountain and helps you paint it in layers, thus creating shadows/shading that makes for an extremely realistic art piece. He also reinforces that nothing is a mistake, just a “happy accident” as you paint. This was such a good reminder for me, as I often want things to look absolutely perfect… But some mistakes can turn out even better!

This tutorial was a bit harder for me overall as I didn’t have the same brushes and colors as Bob Ross. But, that just allowed for more creativity to make the work my own! I would say it took me about one hour to follow this 25 minute tutorial, as I would often pause it to finish up certain steps. It is also important to note that I excluded the cabin at the end of the tutorial. All in all, I think it turned it out amazing; everyone should try out a Bob Ross tutorial at some point!! Regardless of skill (because seriously I was a beginner beginner painter), you WILL be able to create an awesome painting by following one of these tutorials.

If you don’t believe me just look at all the other paintings I have created since then! For some I followed along to other Bob Ross tutorials, but for others I just followed me heart. 😁 What art will you create in the near future?

A picture of a Bob Ross painting
Pin now to read later!

Love,
Jenna ♥

➡️ Subscribe to never miss a post! ⬅️

Loading

bookmark_borderI Tried a 2 Week Chloe Ting Ab Challenge 😀

Hey earth muffins! Mister Corona has, no doubt, impacted everyone’s lives in so many ways. While I have been spending most of quarantine studying for my upcoming CPA exams, I also jumped on board a trend I never would have seen coming: Chloe Ting. When the stay at home orders were first issued, my Instagram and YouTube feeds blew up with people talking about “Chloe Ting”. I had no idea who she was, but after doing some research I was lowkey inspired. I have always wanted abs, so why not try out a Chloe Ting ab challenge when I was stuck at home?

As someone who never exercises other than taking long walks, I thought a structured workout routine would be beneficial. Even if I wasn’t going to get actual abs, I thought it would be smart to be a bit healthier to ward off any pandemic germs. 😬 So, in my planner I added Chloe Ting to my to-dos for 14 days straight; here are my thoughts on my ab challenge experience!

The Chloe Ting Ab Challenge I Picked

Because I never usually do workouts to build my muscles, I wanted to select a Chloe Ting challenge that wasn’t going to be impossible to complete. The video I used was her ten minute ab challenge. If you are trying to get fully shredded (like Matt the Radar Technician), there are three other videos you can do alongside this one for a two-week shred challenge. But, I just decided to see how an ab workout would work for me. 😄

Ab Challenge Week 1

For only a 10 minute video, Chloe works you HARD 😰 After doing two different exercises for 30 seconds you only get 10 seconds of rest before moving on to the next – it can be brutal at times! Day 1 wasn’t too challenging; I spent some time making sure I was doing each exercise correctly which made the workout feel shorter. If you decide to try out one of her workouts, I suggest watching it a couple of times before you physically try it out. This will allow you to work out harder on the first day because you will actually know how to complete the different exercises.

I was SO sore on days 2 and 3 because (obviously) I had been working out muscles I didn’t use often. After these days though I never felt sore, only that tight crampy feeling you get during the actual workout. No joke, I had the outline of abs by day 4!! I’m not talking about an outline of each set of abs, but that “11” on your stomach that makes you look hella good. This was definitely motivation to keep going with the challenge!

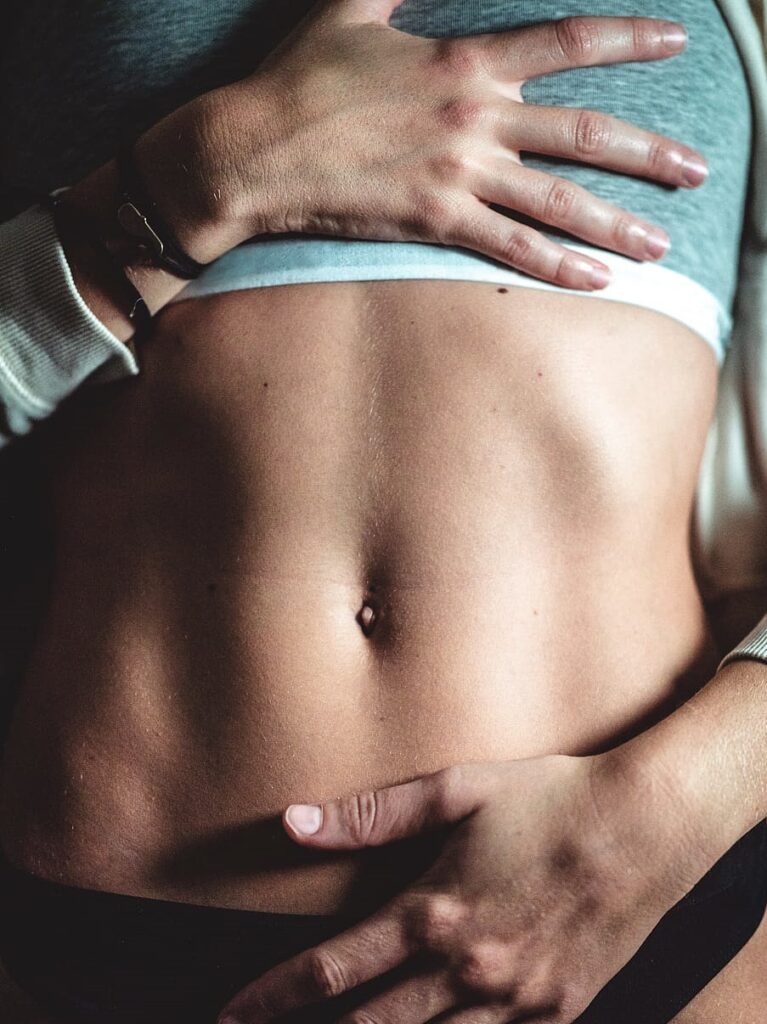
A picture of a woman in a sports bra with her abs showing

I also loved that Chloe incorporates a lot of different types of exercises into one workout. Because there is a variety, it makes the workout go by much faster as you are doing something new constantly. It also allows people of many different abilities to try out her workouts – which I love! 😅 While there were some exercises that I hated (like up and down planks or plank jacks) I found some new exercises that I actually enjoyed.

Ab Challenge Week 2

Was it hard to keep up the challenge for 14 days straight? Yes and no. The challenge is only 10 minutes, so there isn’t an excuse for being too busy to do it each day. But, there is always that initial time of feeling unmotivated to exercise. To counter this, the fact that I could see the results so early was motivation to keep it up. 💪

By the second week, I had the order of the exercises basically memorized. This was awesome because it enabled me to focus on the best form and push my body to complete more reps of each. I will tell you – the back track of this workout gets pretty repetitive and annoying at times after you have been listening to it for two weeks straight!

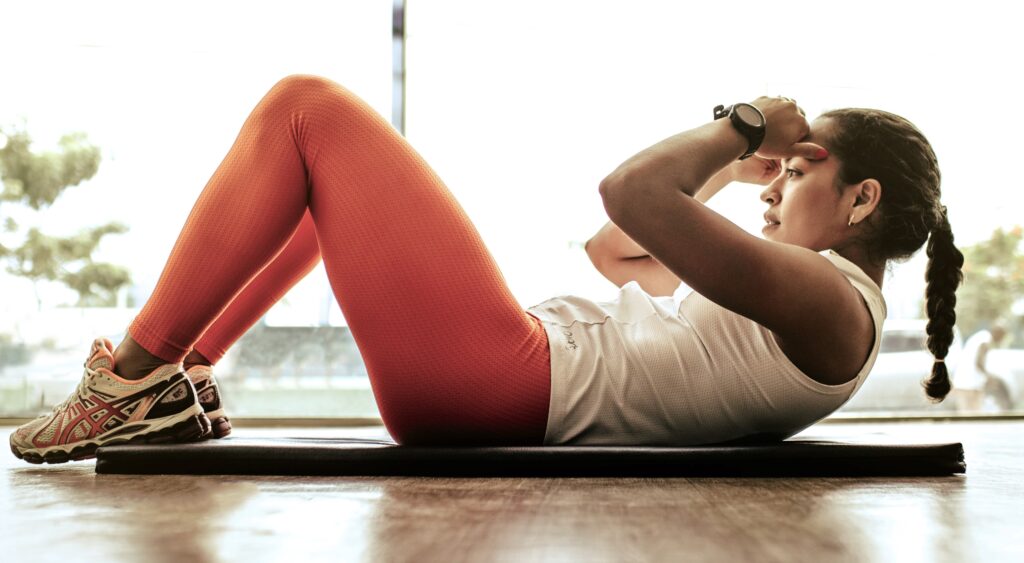
A woman doing a crunch on a yoga mat

Overall Thoughts on a Chloe Ting Ab Challenge

Did I see results? Yupp. I don’t think it is necessary to show you all the “after” as I never took before pictures; plus, I wasn’t doing this to share my results with the world. I was doing it to feel better about my body and to make it stronger. 🤩

Will I continue with Chloe Ting? Yes and no! Based on this challenge, I actually made my own workout routine with some of my favorite exercises. I love how strong my body has been feeling, so I have been doing this routine almost every single day after my challenge has ended!! I might try out another one of her challenges to strengthen my legs and arms, but I will most likely just incorporate them into this new routine. Look out for a workout routine post in the near future!

Would I recommend a Chloe Ting ab challenge? YES. It is amazing that she puts her workouts online for free, as many people don’t have access to gyms/trainers. In addition, they actually get results! As these challenges range from low to high commitment, there is no reason to not give one a try. Now I know why so many people have been talking about her workouts, and I totally recommend you try them too! 🥳 What have you been doing to stay fit at home?

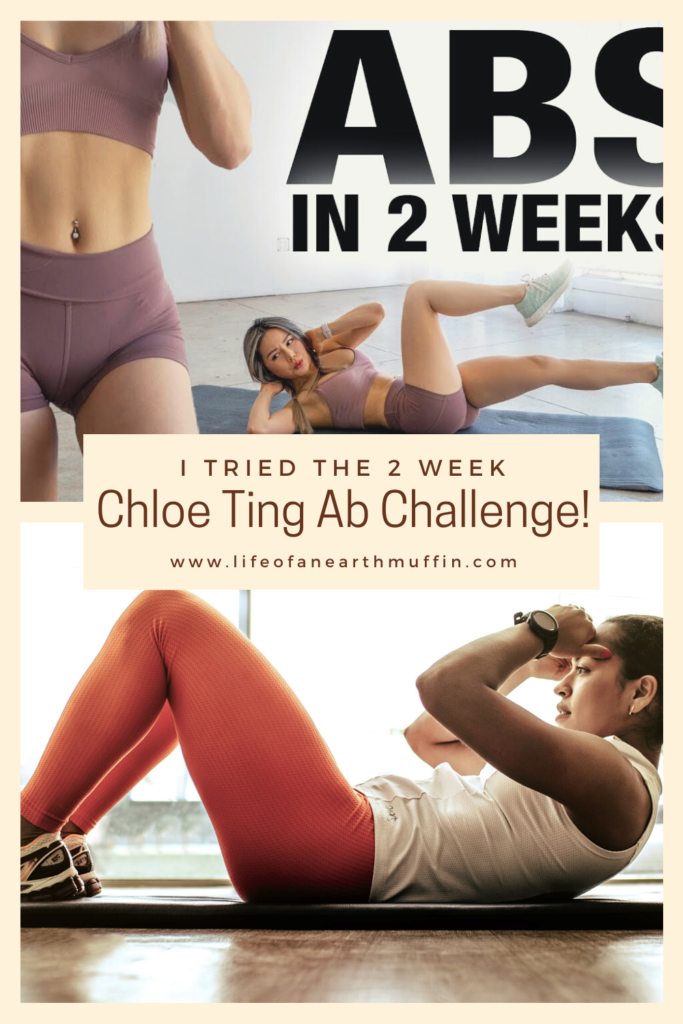
A picture of a woman doing crunches with the words I tried the 2 week Chloe Ting Ab Challenge on top
Pin now to read later!

Love,
Jenna ♥

➡️ Subscribe to never miss a post! ⬅️

Loading