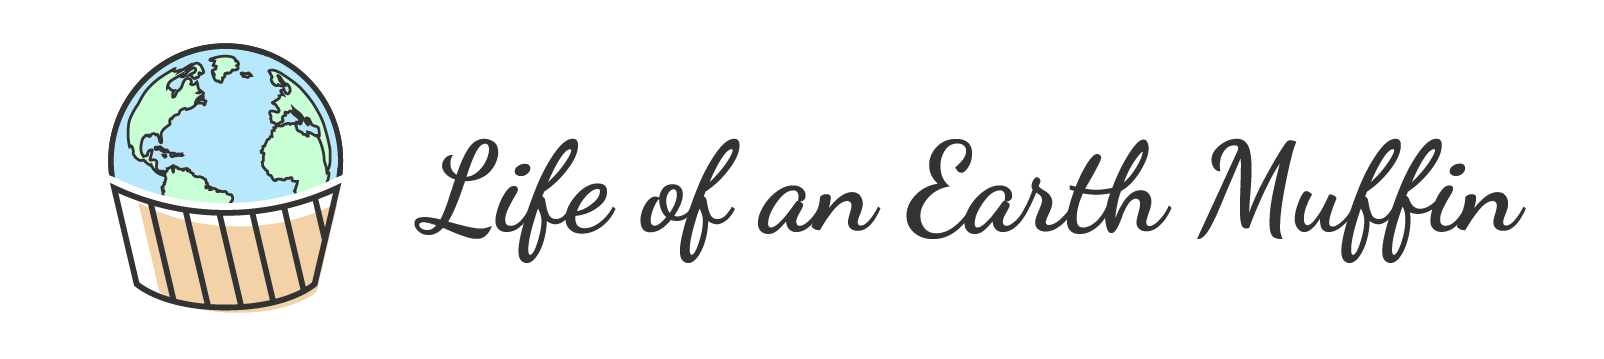
Hey earth muffins! When I was a kid, I LOVED any sort of DIY kit. Whether it was a do-it-yourself science experiment or cupcake set, I was all over it. Did you know there are all-natural craft kits on the market?? Earthy Good was kind enough to send me their lip balm kit a few months ago. I’ve given it a try and am ready to share my thoughts with you all; keep reading for a full review of the Earthy Good lip balm kit!
What I Love About This DIY Kit
The first thing I love about this lip balm kit is that it is 100% natural. Ever since I started my eco journey, I’ve been opting for beauty products that are clean and made without any parabens or other yucky stuff. This kit is made with clean ingredients that are labeled clearly. Almost all of them are organic too!
Hey earth muffins! I recently decided to try Oui yogurts for the first time… These are made by Yoplait and are “french-style”, which means the yogurt is prepared in the container it is sold in. The reason I wanted to give them a try is because they come in glass jars! 😊 This is a great alternative to buying individually packaged yogurts in plastic, and they are quite tasty too! Once you eat the yogurt, there are endless possibilities on how to upcycle Oui yogurt containers… Let’s jump into my favorite options!
~Use them as containers for a packed lunch.
The first way to reuse these yogurt jars is to add them to your reusable container collection. These are perfect for packing a zero waste lunch! While they don’t have lids, I use a small piece of beeswax wrap to keep it airtight. If you make your own yogurt or buy a bulk yogurt tub, these are perfect for packing individual portions. 😍
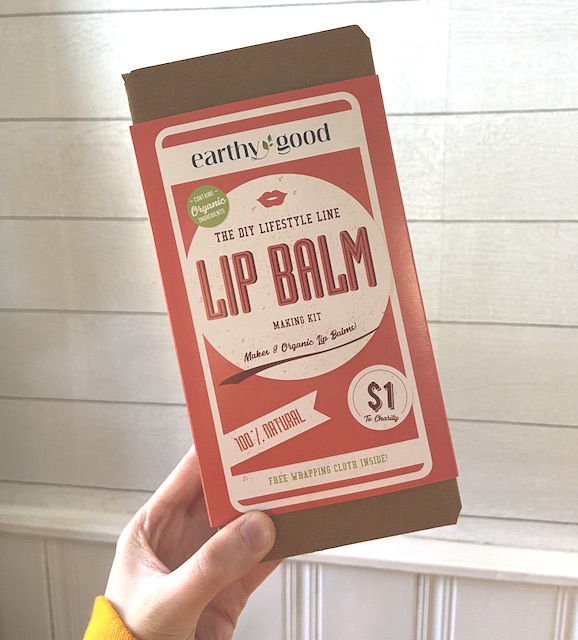
Hey earth muffins! I love spring for multiple reasons: the end of winter, flowers blooming, and (yes) even spring cleaning. There is something about decluttering and sorting the house that clears my mind and makes me feel more at ease at home. Does anyone agree with me?? While cleaning isn’t the most enjoyable activity, the reward after is always worth it. Plus, you can stay sustainable and zero waste as you clean too! Today I will be sharing my favorite DIY all purpose cleaner with you all – let’s jump right into it!
Why Should You Make Your Own All Purpose Cleaner?
Let’s face it – there is an endless array of cleaners at the store. It is honestly so overwhelming (and smelly) in the cleaning supplies aisle! Along with stressing your brain out with too many options, most cleaners are full of nasty chemicals that aren’t great for you. While they are supposed to keep your house clean, do you really want to breathe in all those toxins when there are other more natural options?? On top of this, many come in plastic bottles too which means they are bad for the environment and typically end up in the landfill. So instead of buying cleaners this spring, I suggest making your own! This is a great way to zero waste your cleaning supplies and keep your household chemical-free.
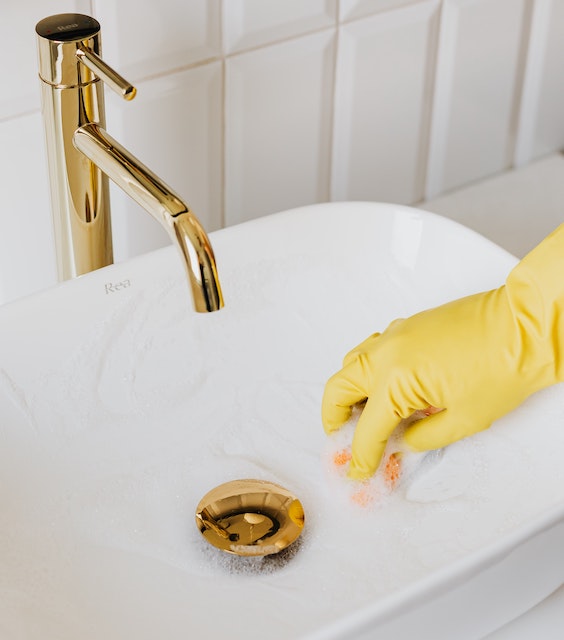
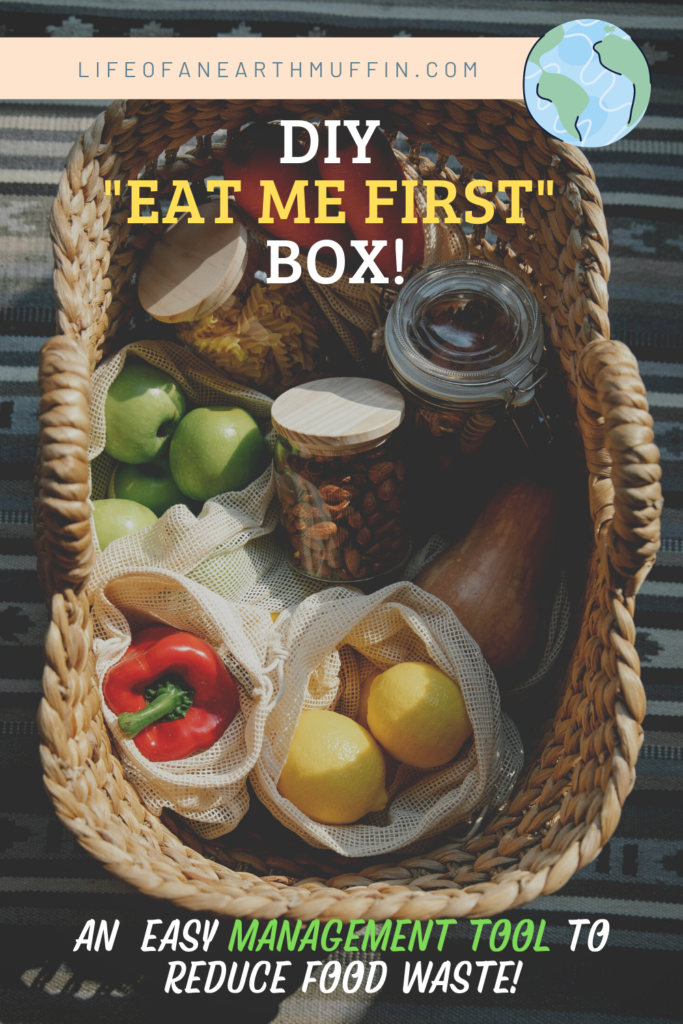
Hey earth muffins! Food waste is a huge issue in the modern age. While people all over the world are starving, many first world countries throw away a crazy amount of food… You might think this is a problem for other people, but I can guarantee you are guilty of it as well – we all are! Even if you care enough to read about how to reduce your food waste, you might still find youself with wasted food in the kitchen. In today’s post, I wanted to share a great food waste management tool that I have been using for quite some time now – an “Eat Me First” box. Let’s jump right into the DIY!
What is an “Eat Me First” Box?
In the simplest of terms, this box is a daily visual reminder to reduce your food waste. It doesn’t even need to be a box – it can be a bowl, a shelf in your fridge or pantry, or a bag. Many people aren’t aware of the foods in their kitchen that are almost expired/going bad. This is because they are often spread out throughout the fridge and pantry. Unfortunately, this leads to wasted food. I know I definitely have had to throw away food because I forgot it was there! Once all of this food is in one location, you can get in the habit of choosing it first. This is an amazing food waste management tool because you will reduce the amount of food that gets thrown away to the landfill. Plus, it is super easy to make!
What You Need:
-Some sort of box. Like I mentioned above, this doesn’t actually need to be a box and can be anything from a mason jar to a basket to a shelf in your fridge.
-Food that is almost going bad. Examples include bananas that are almost brown, bulk food nearing its expiration date, etc.
What to Do:
First, figure out what to use for your box. Get creative! Find something from around the house or hit up some local secondhand stores to find something that will work. I personally found a huge vintage spaghetti bowl to use for this DIY food waste management project.
If you want, decorate the box! This is helpful for anyone with kids, as some fun decorations get them excited to eat whatever is inside. It might be useful to create an “Eat Me First” sign to attach to the box as well. Use art supplies you already have in the house for decorating. I suggest avoiding things like glitter that are not sustainable (and get everywhere!).
Once the box is finished, find a place to put it. I suggest a shelf in the fridge that is accessible to all members of your family. Or you can place it on a similar shelf in the pantry. Or even both if you make two boxes!
Fill the box with food that is almost going bad. This can be anything from leftovers to fruit that is almost too ripe or rotten. Anything goes! Make it a practice to choose food from this box first before selecting something else from the kitchen. This ensures your food waste will be less, which is awesome!
If you still end up with some food waste, no worries. You have at least made some effort to reduce it! If you compost, place the food waste in the compost bin to naturally break down. Last resort, throw the food into the trash.
Pin now to read later!
Final Thoughts on this DIY
I highly recommend making an “Eat Me First” box for your kitchen, as it is an effective food waste management tool! It is easy to get into the habit of eating from the box first before eating other foods. Plus, it is much easier than composting if you have been trying to think of a way to divert your food waste from heading to the landfill. Don’t be disappointed if you still find yourself creating waste even with this box – keep up the great work and you will see small improvements over time! Do you have an “Eat Me First” box in your kitchen? Comment below your thoughts and what you think of this DIY!
Hey earth muffins! I shared on my Instagram a couple of weeks ago that I recently worked on a DIY upcycled craft project. I haven’t done a craft project in SO long! During middle and high school, I used to craft all the time. I loved to sculpt charms out of polymer clay and make my own jewelry. But, I eventually stopped doing that and would occasionally do some painting projects. In college I was really into following along with Bob Ross videos! It has been quite a while since I’ve done some crafting, but I just couldn’t pass up this opportunity for a fun DIY upcycled project. Let’s jump right into it!
From Trash to DIY
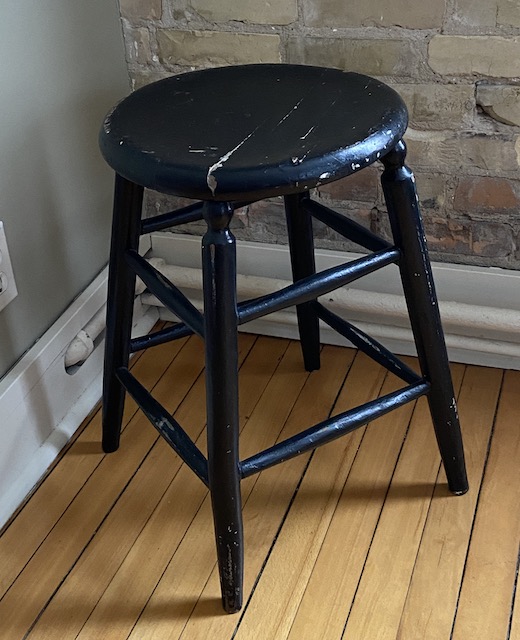
As many of you know, I currently live in an apartment complex. There are two main staircases in this building – one near the elevator and another tucked away for access to the basement/laundry room. When I was going down to do laundry one day, I noticed that someone had placed a stool and some towels in the back staircase. I figured someone had moved out and left them there. While I wanted to take the stool for this upcycled project, I didn’t want to steal something from someone who still wanted it. But, a month later, they were still there. So, I brought the stool upstairs to start my project!
Before the DIY
There is one corner of my living room that had nothing in it. Our apartment doesn’t have AC, so we had a floor AC unit there during the warmer months. As it is obviously winter now, the unit is in storage which left behind empty space. I have been thinking about what I should put there for quite some time… The corner is by an east facing window too, so I thought it would be perfect for a plant!
What You Need for This Upcycle DIY
-An old stool: this one was in pretty rough shape, but I won’t actually be sitting in it anytime soon -Paint: I used black and white -Paintbrush 🖌️: I realized that I didn’t actually have a large enough paint brush… I didn’t want to buy a new one, so I used an old piece of foam as a sponge brush! It worked surprisingly well! -Newspaper/cardboard to protect the floor: I used some from my recycle bin! -A cute design idea: I was aiming for space themed, but there are so many cute options to try!
How to Upcycle a Stool
Lay out your newspaper to protect your floor. This step is important, especially if you tend to be a messy painter/DIYer
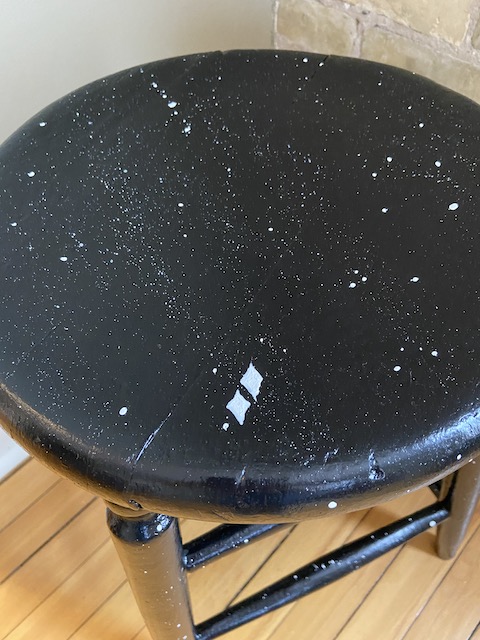
Mix the paint and start painting! Like I said above, I didn’t actually have a paintbrush, so I had to use a “dab” method to cover the stool. This was totally fine for me because I was aiming for a space, imperfect look.
For areas with old paint or cracks, let the first layer dry and then paint it again.
4. Once the base is on, let dry. Add any finishing details with other colors! I went in with white paint to create lots of stars, as well as two larger stars in the front of the stool.
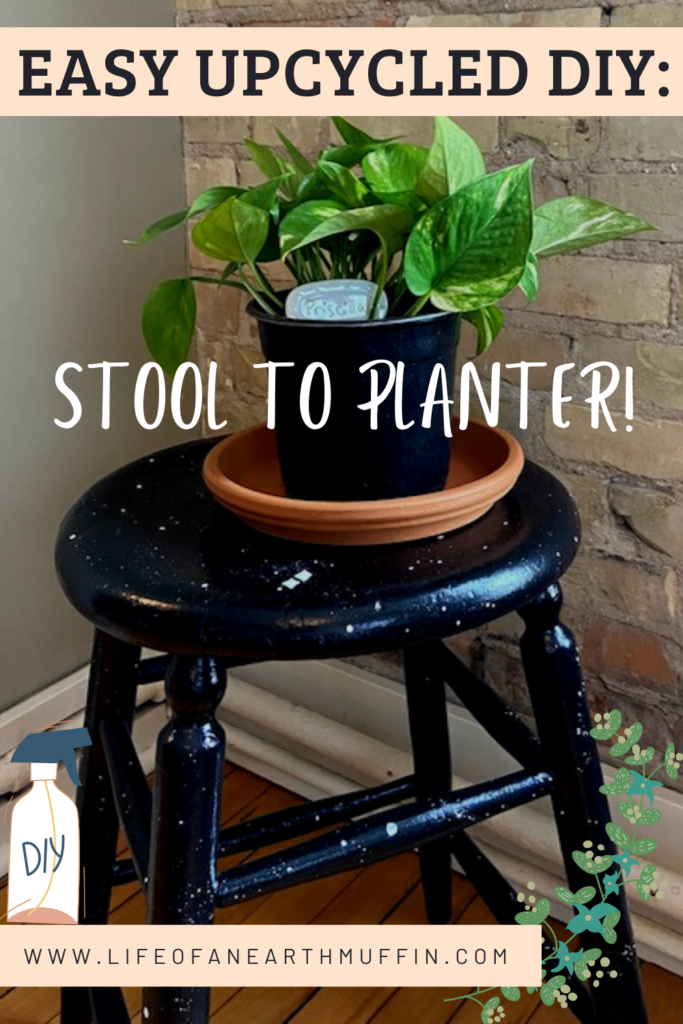
The Finished DIY Upcyle
I absolutely love how this turned out! 😍 I think the subtle space theme is awesome, because it isn’t obvious until you really look at the planter. For Valentine’s Day, my boyfriend bought me a gorgeous Golden Pothos… I am excited to see how big it gets! Part of me wants to paint the terracotta pot too, but I am not sure if it will look good. Any thoughts if I should paint that as well? Overall, I am really happy with this DIY upcycled project. I love that I saved this stool from the landfill (and/or sitting in that dingy staircase), and I will definitely be keeping it for years to come!