
Hey earth muffins! I recently made some french onion soup… And yes, it was fully plant-based! How is this possible you might ask – because it was made with No Beef Broth beef broth alternative from Ocean’s Halo. Yupp, vegan “beef” broth is a thing; and it was delicious! But let’s not get too ahead of ourselves. In today’s No Beef Broth review I will be sharing all my thoughts if this product is worth it or not. Let’s jump right into it!
Read More ➥Tag: recipe
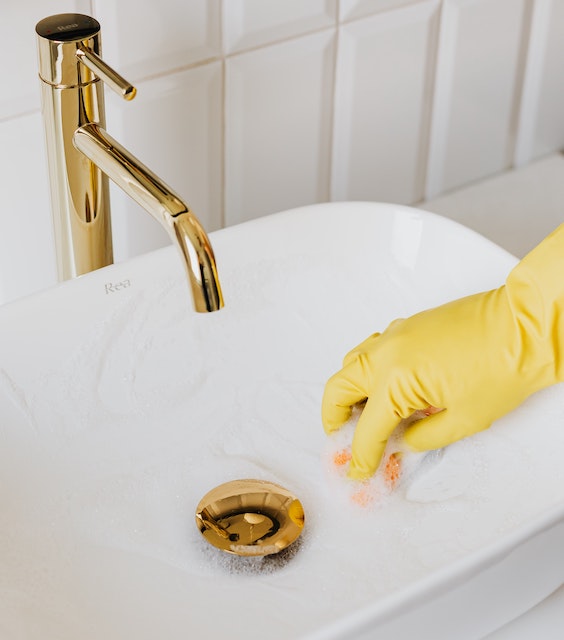
bookmark_borderThe Best DIY All Purpose Cleaner for Spring Cleaning
Hey earth muffins! I love spring for multiple reasons: the end of winter, flowers blooming, and (yes) even spring cleaning. There is something about decluttering and sorting the house that clears my mind and makes me feel more at ease at home. Does anyone agree with me?? While cleaning isn’t the most enjoyable activity, the reward after is always worth it. Plus, you can stay sustainable and zero waste as you clean too! Today I will be sharing my favorite DIY all purpose cleaner with you all – let’s jump right into it!
Why Should You Make Your Own All Purpose Cleaner?
Let’s face it – there is an endless array of cleaners at the store. It is honestly so overwhelming (and smelly) in the cleaning supplies aisle! Along with stressing your brain out with too many options, most cleaners are full of nasty chemicals that aren’t great for you. While they are supposed to keep your house clean, do you really want to breathe in all those toxins when there are other more natural options?? On top of this, many come in plastic bottles too which means they are bad for the environment and typically end up in the landfill. So instead of buying cleaners this spring, I suggest making your own! This is a great way to zero waste your cleaning supplies and keep your household chemical-free.
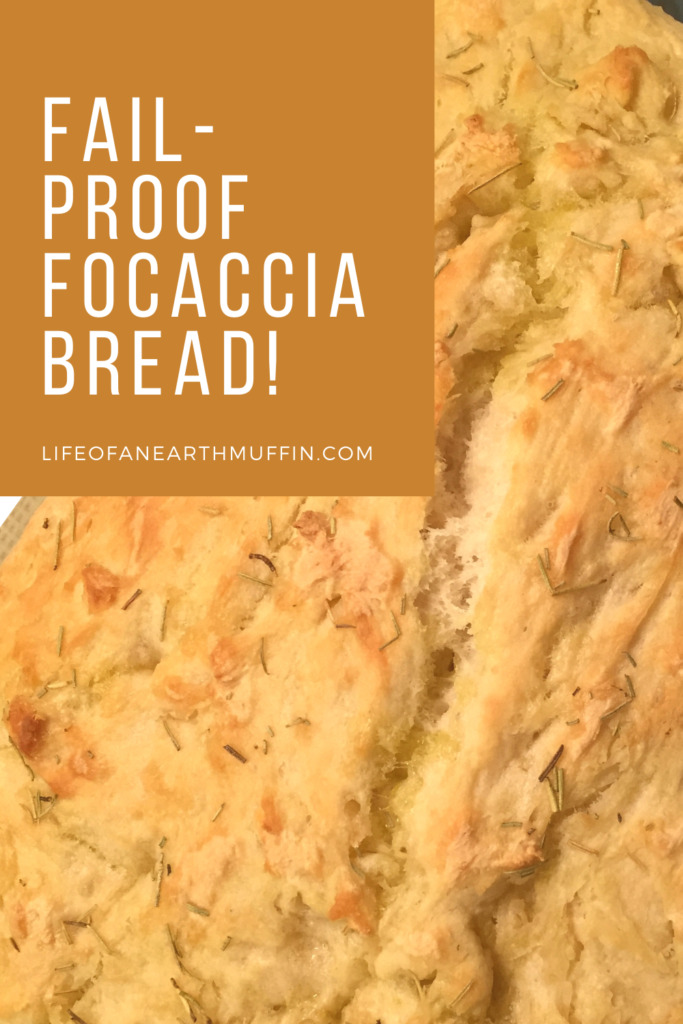
Read More ➥bookmark_borderRecipe: Easy & Delicious Focaccia Bread
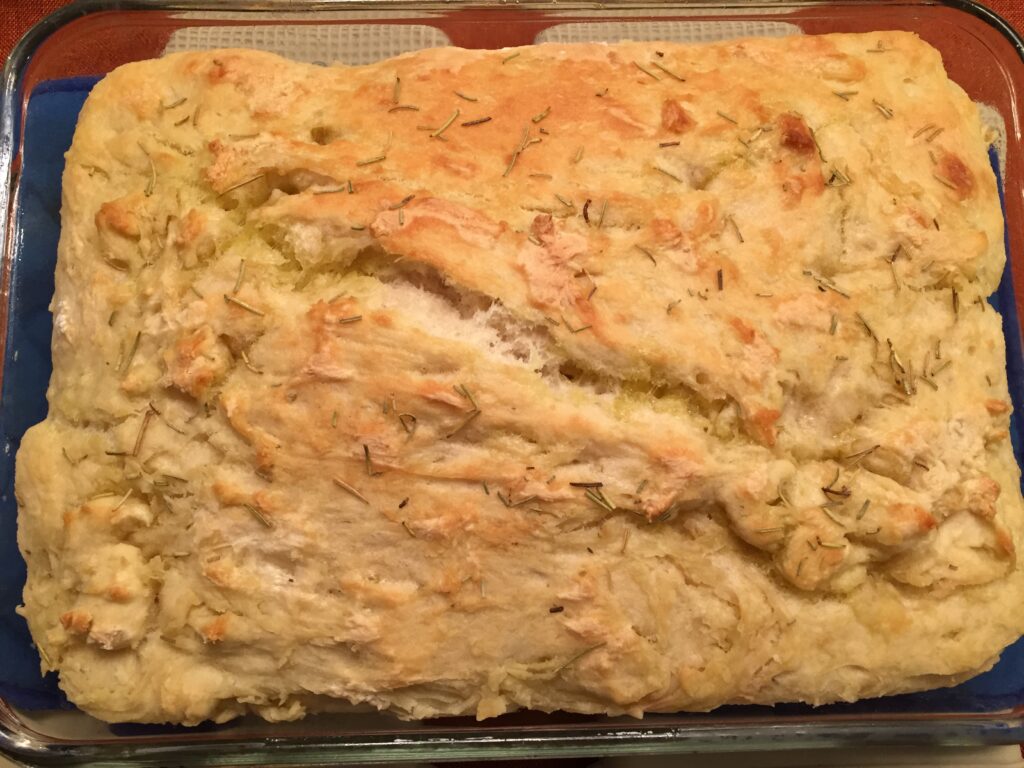
Hey earth muffins! I hope everyone is staying safe during this troubling time in this country, regarding both Mister Corona and the protests/riots. While I mentioned in a previous post that my mental health has been affected by being in quarantine this long, the state of our current world has definitely not helped…. But, I have found that certain activities, like baking things or making homemade granola, help me stay positive! So, I wanted to share a recipe on how to make easy focaccia bread to (hopefully) give a little joy into your day. 🥰
On a sidenote, you might have noticed that Life of an Earth Muffin looks quite different – my Blogger to WordPress migration is officially completed!! I am so happy with how it looks, but I will definitely be doing a lot of research and playing around with WordPress to improve my blog even more. Let’s go get some bread! 🍞
What You Need:
-2 cups of warm water
-1 packet of active dry yeast (make sure you are using active dry, as instant yeast is not the same thing and doesn’t need the water to be activated!)
-1 tbsp of sugar
-2 tsps of salt
-4 cups of flour
-1/4 cup olive oil
-Rosemary
What To Do:
1. Pour the packet of active dry yeast into a bowl with the warm water. Stir until the yeast has mostly dissolved – it will look like cloudy water when it is ready!
2. Next, add the sugar and salt, and stir together. Add the flour (I found it easiest to do the flour in cup increments to ensure that I could easily mix up the dough!). Stir the dough until everything is fully incorporated.
3. After the dough is ready, spray a casserole dish with Pam (or rub with some butter if you are trying to live that low waste lifestyle!) to ensure that the bread won’t stick. Use whatever casserole size you want depending on how thick you would like the bread to be. I personally like thicker focaccia breads, so I used a small casserole dish.
4. Lastly, drizzle the olive oil on top and sprinkle rosemary, adding as much as you want depending on your herbal preferences.
5. Let the dough rise for 45 minutes in a warm place. I suggest putting it into the oven with only the oven light on!
6. Preheat the oven to 400 degrees (making sure to remove your rising dough if you had it in the oven!).
7. Bake for about 20-24 minutes or until a toothpick comes out clean.
8. Cut into squares and serve warm. Any leftovers can be put into a mason jar or Tupperware to be served cool the next day.

There you have it, some delicious and incredibly easy bread to make! What have you been baking recently?
Love,
Jenna ♥