Hey earth muffins! My absolute favorite cookies are pumpkin chocolate chip, so I am a huge fan of pumpkin spice season. When grocery shopping a couple of weeks ago, I saw that pie pumpkins were on sale… 🎃 So I thought it would be fun to try to make my own pumpkin puree! Thanksgiving is coming up soon, so this recipe would be perfect for your delicious pumpkin pies (and of course any other pumpkin-themed baked good). Let’s jump right into the recipe!
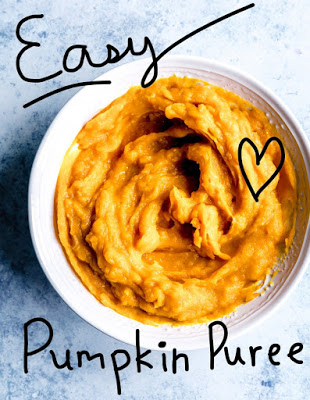 |
| Pin to read later! |
What You Need
-Pie pumpkin(s): I used two small ones which made about 2.75 cups of puree
-Large spoon
-Large knife
-Baking tray (must have some sort of lip)
-Water
-Blender (or some sort of Nutribullet)
What To Do:
1. Preheat the oven to 350 degrees.
2. Using the knife, cut off the stems of the pumpkins. Be careful you don’t cut off any fingers!
3. Cut the pumpkin in half lengthwise.
4. Use the spoon to scoop out the seeds and stringy bits in the middle of the pumpkin. I suggest roasting the seeds as a tasty snack and then composting the rest! 😊
5. Place the pumpkin halves FACE DOWN on the baking sheet. Add about 1/4th of an inch of water to the bottom of the pan.
6. Pop into oven and let bake for 60-90 minutes. The pumpkins are done when a fork can slide in easily (mine took about 65-70 minutes).
7. LET COOL!
8. Scoop out the pumpkin “meat” and put into the blender. Blend until smooth.
9. If your pumpkins were a bit watery, you can drain some of the water out to get a thicker puree consistency. You can also add some water if it is too thick. My pumpkin puree was absolutely perfect straight from the blender, so I skipped this step.
10. Either use in a recipe right away, pop it into the fridge to use up within a few days, or freeze it. As I wanted to be able to use the puree for cookies throughout the year, I measured it into 1 cup portions and froze in mason jars. 😀 Ta-da! Your pumpkin goodies are just waiting to be baked!!
What are your favorite pumpkin recipes?
Love,
Jenna ♥