Hey earth muffins! If you have been following my Birth Control series, you will know that I have been using the basal body temperature (BBT) method to track my menstrual cycle. Using the Femometer has been the easiest way for me to use this method. In this post, I will be sharing everything there is to know about BBT for anyone who is considering trying out natural birth control. Let’s jump right into it! 😘
What is the Basal Body Temperature Method?
The Basal Body Temperature method (or BBT) is a form of natural birth control. This method of pregnancy prevention uses your basal body temperature to chart your menstrual cycle. Your “basal body temperature” is your body’s lowest temperature that is attained when you are asleep. In order to get the temperature closest to this, the BBT method is based around measuring your temperature as soon as you wake up. This natural birth control method is based off the fact that your body temperature will decrease slightly when you are ovulating.
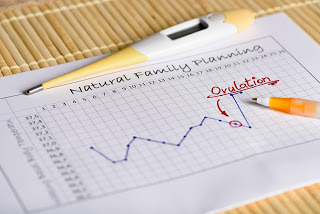
How do you use the BBT Method?
The BBT method is extremely easy to do:
- Buy a thermometer that has at least two decimal places after the degrees (see next section for the thermometers I recommend!)
- Place the thermometer right beside your bed. It MUST be within arms reach as you cannot sit/get up to retrieve the thermometer
- When you wake up in the morning, immediately take your temperature! Again, in order to get the best reading you must remain lying down when you do this.
- Depending on the type of thermometer you have, either log the temperature in a journal/chart or sync it to the app on your phone.
- Repeat each morning!
What thermometer should you use?
I personally have loved my experience with the Femometer! Instead of having to track all of my temperatures by hand, this thermometer syncs up to an app on my phone. This allows me to see my chart any time I want to, as well as have a digital back up online. It also predicts your next cycle, which allows you to know what days you should abstain from having sex (or when you should use another form of birth control).
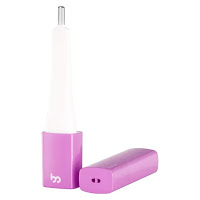
If you don’t want to invest in the Femometer right away (it is $40), any thermometer with at least two decimal places will do. Try to find a brand that is reliable, as you don’t want any faulty readings!
What will your chart look like?
One of my favorite parts of using the BBT method is seeing how my cycle actually goes through a cycle each month! The cycle chart on the Femometer app is super intuitive, and it even allows you to compare your chart to the “normal” cycle.
This image is my cycle compared to the reference curve in the top left:
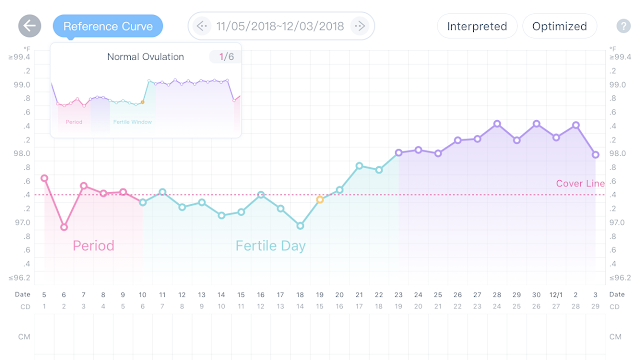
As you can tell, it is super interesting to watch the slight variations in temperature that allows me to know exactly when my period is going to be starting! If you are using a regular thermometer, you can track your own temps using a chart like this:
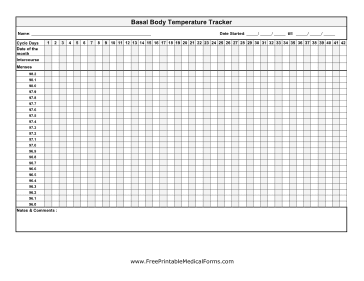 |
| Just search blank BBT chart into Google to find a bunch of these! |
What are the risks of using this method?
1. Your temperature can be affected by many other things (such as illness, stress, alcohol, etc.) which can skew your readings.
2. Again, if you use a regular thermometer you will only be able to track what has already happened in your cycle… This mean you will be guessing when your next ovulation/fertility period is, which can lead to unwanted pregnancies if you are not careful! (If you want to avoid this, then I suggest investing in the Femometer!)
What are your thoughts on the basal body temperature method?
P.S. This post was not sponsored by the Femometer. I was sent the product and have fallen in love with it, thus the many references to it. 😀♥
Love,
Jenna ♥

